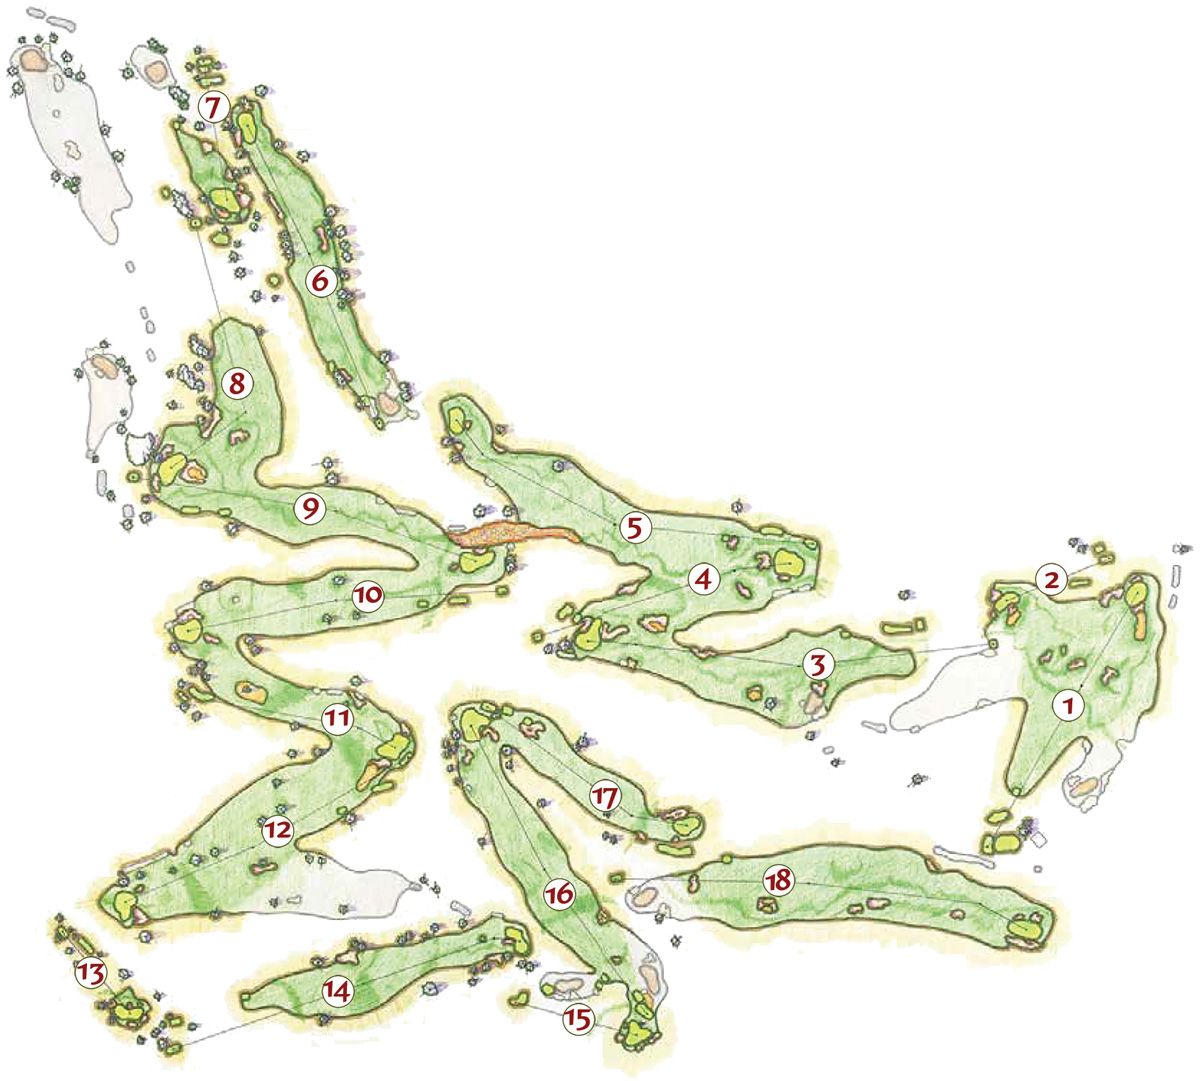
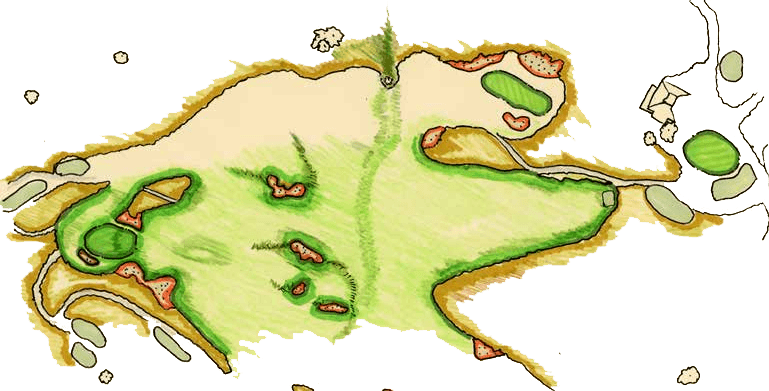
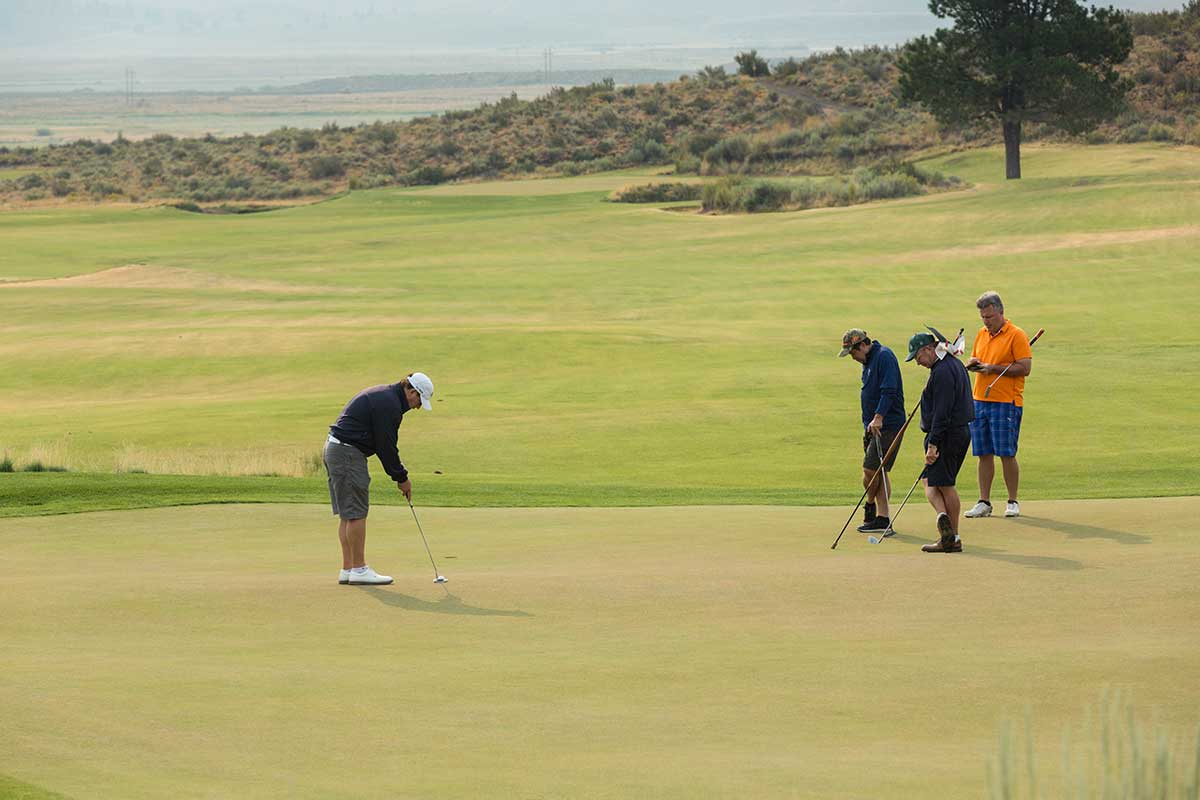
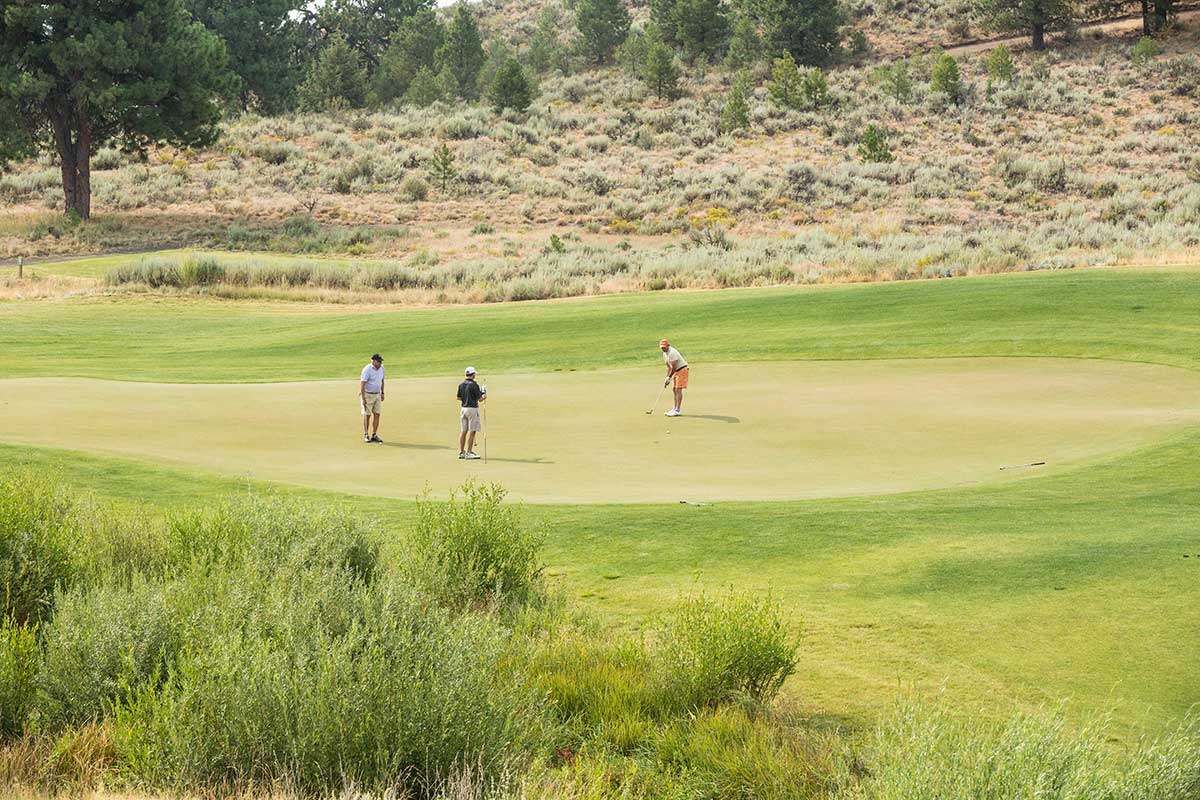
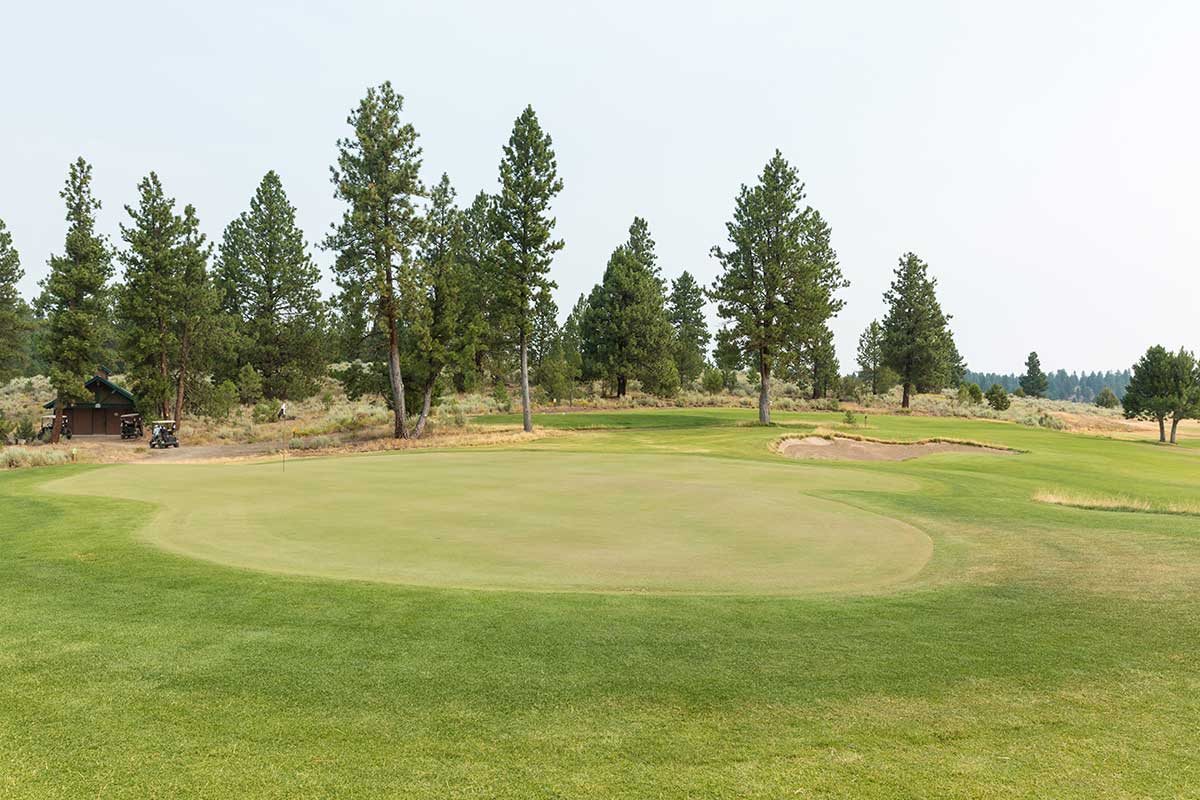
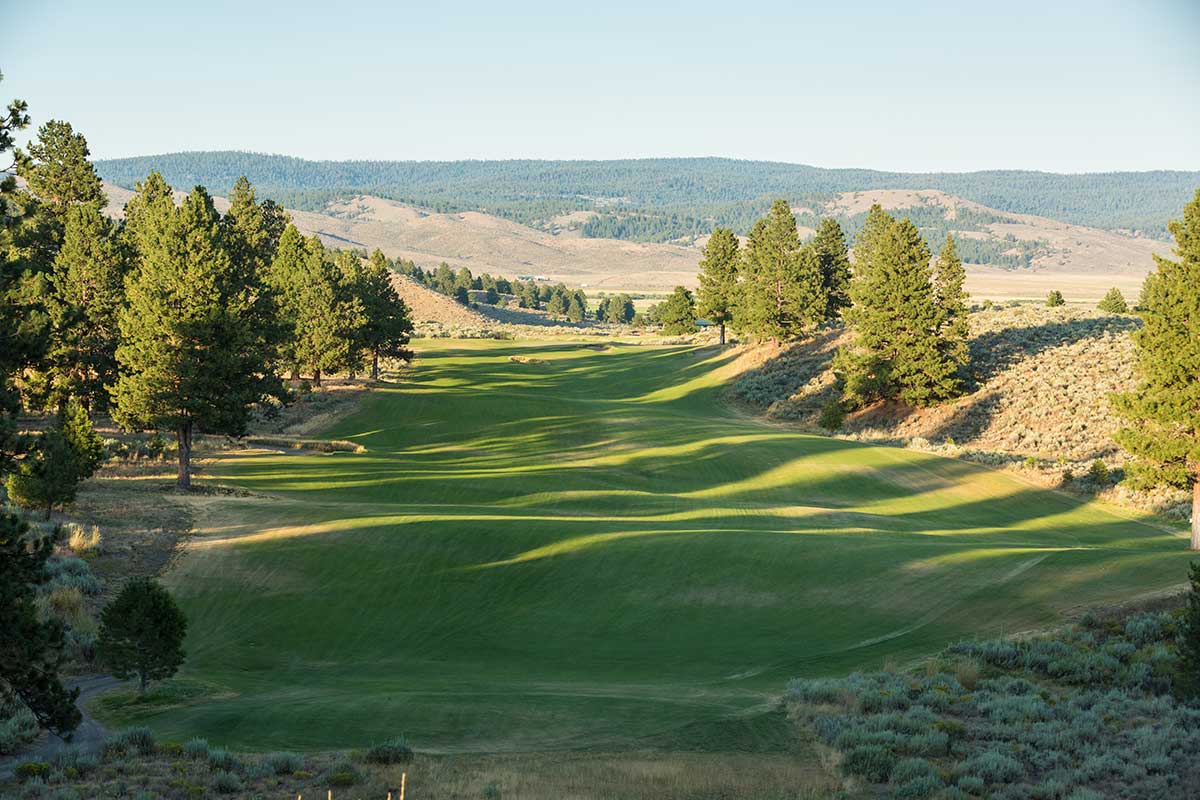
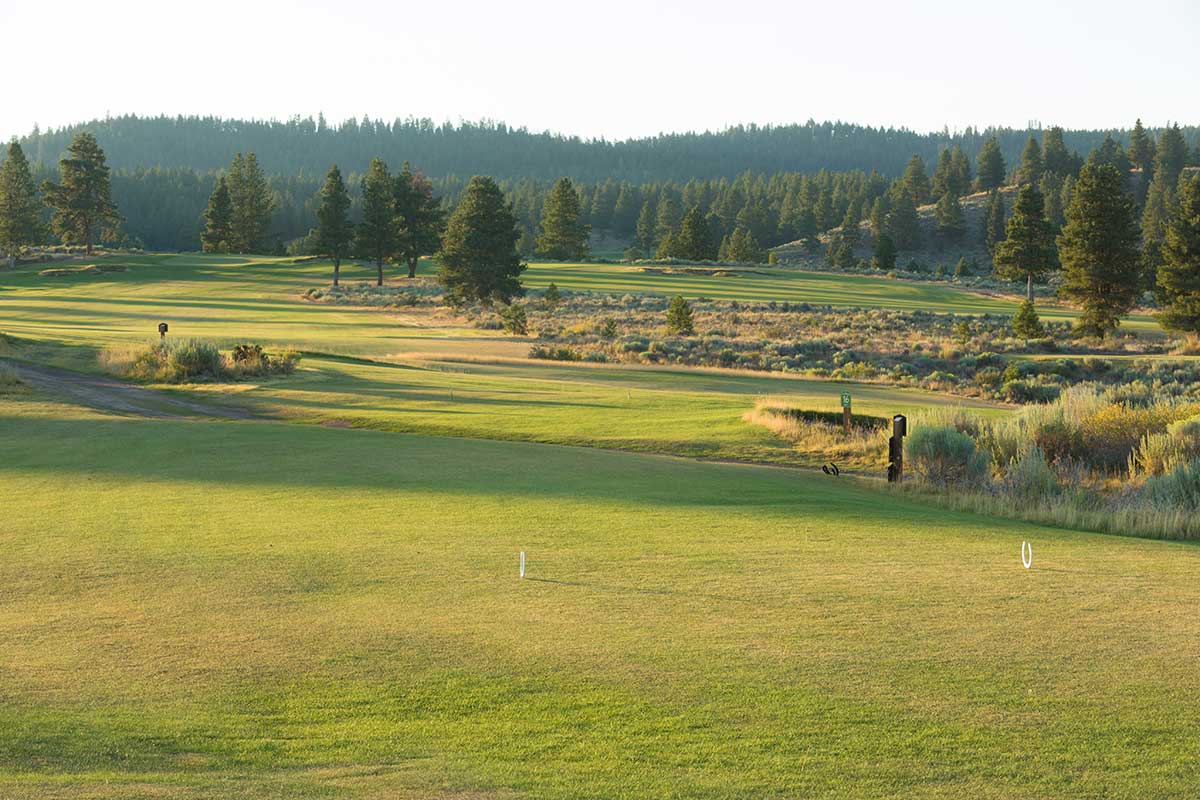
Hankins Hole #1
Par 4 • 415 • 370 • 335
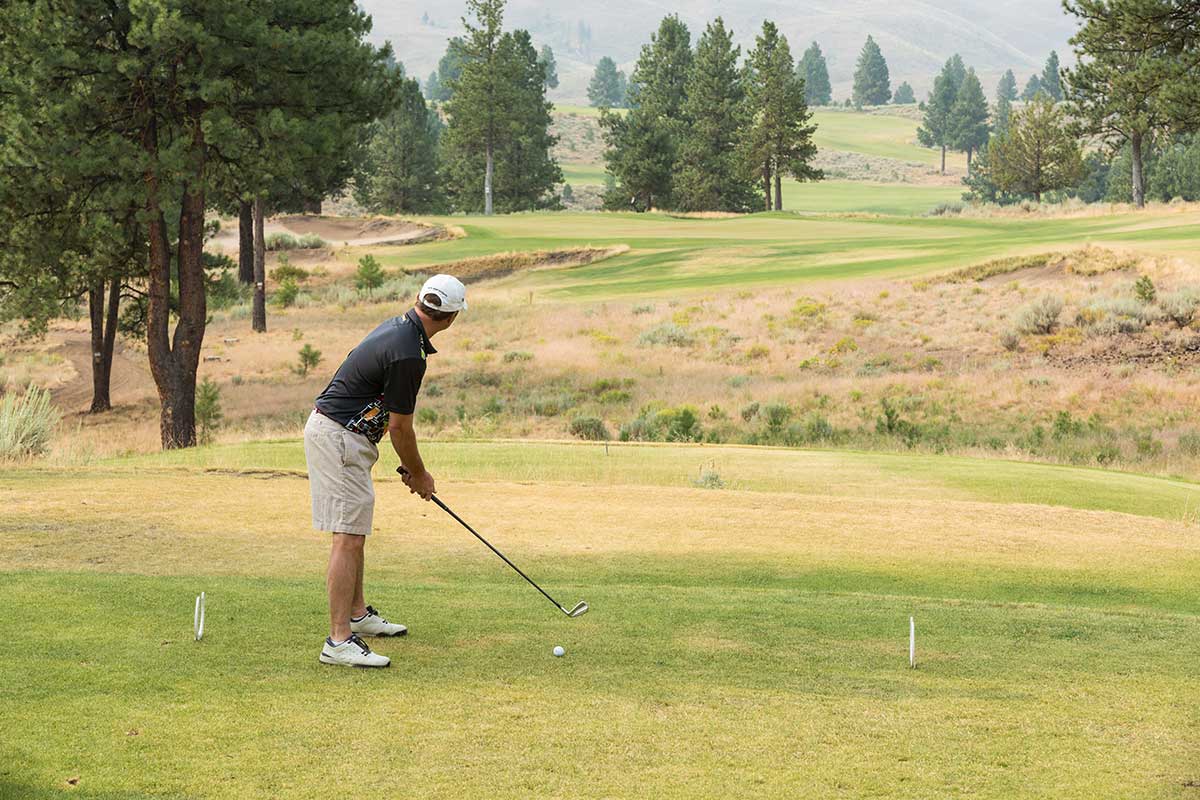
The opening hole on the Hankins welcomes you with a chance to swing away at the first shot of the
round. The drive plays downhill into a huge fairway (235 yards wide at the peak). There are four
bunkers to avoid and plenty of undulating ground to make a second shot anything but simple. This is
one of the
nine double greens at Silvies, and will be played as the 17th on the Craddock.
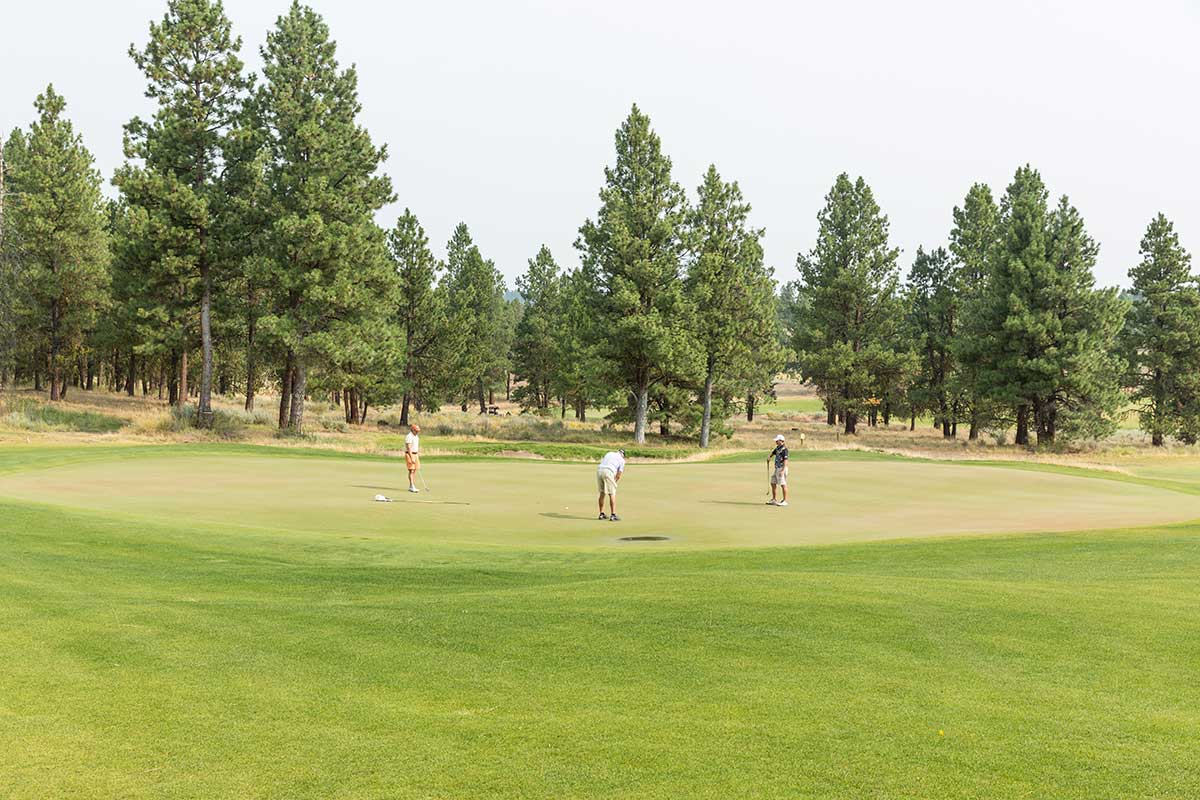
As you play down the fairway, look to the right to see the 18th of the Craddock and the left to see
the 17th.
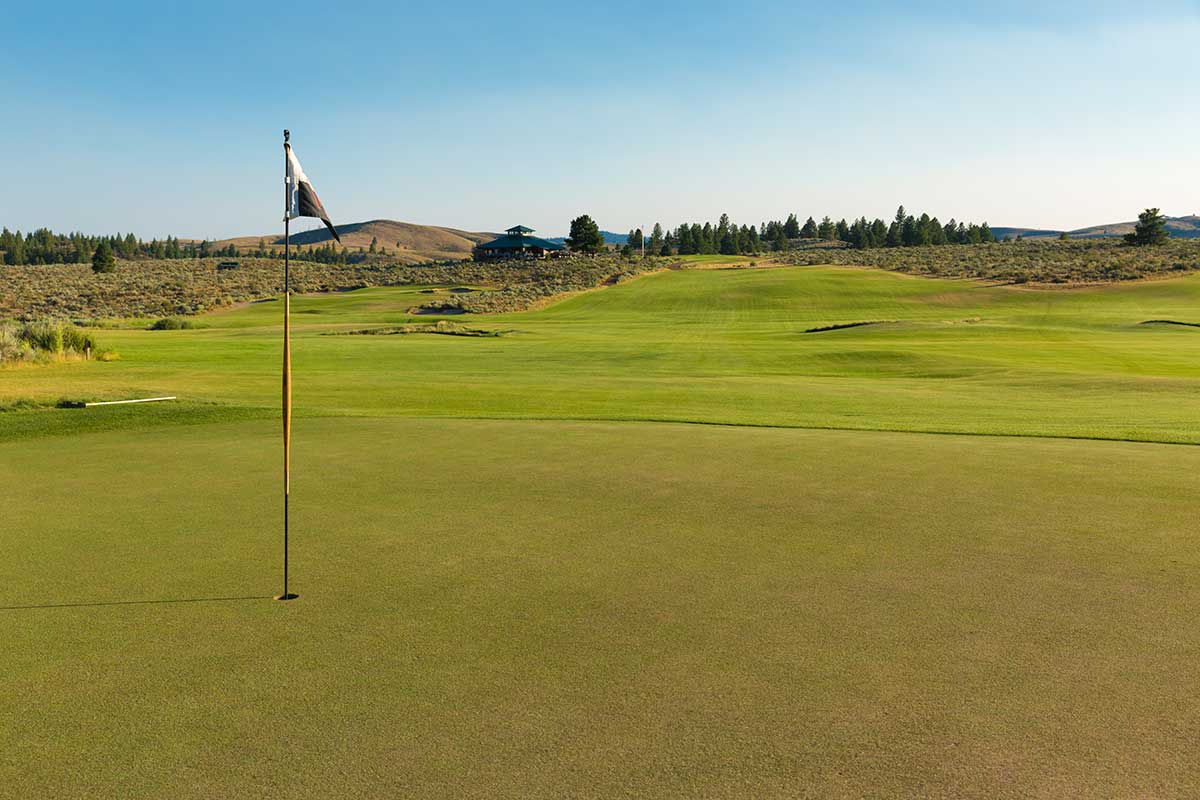
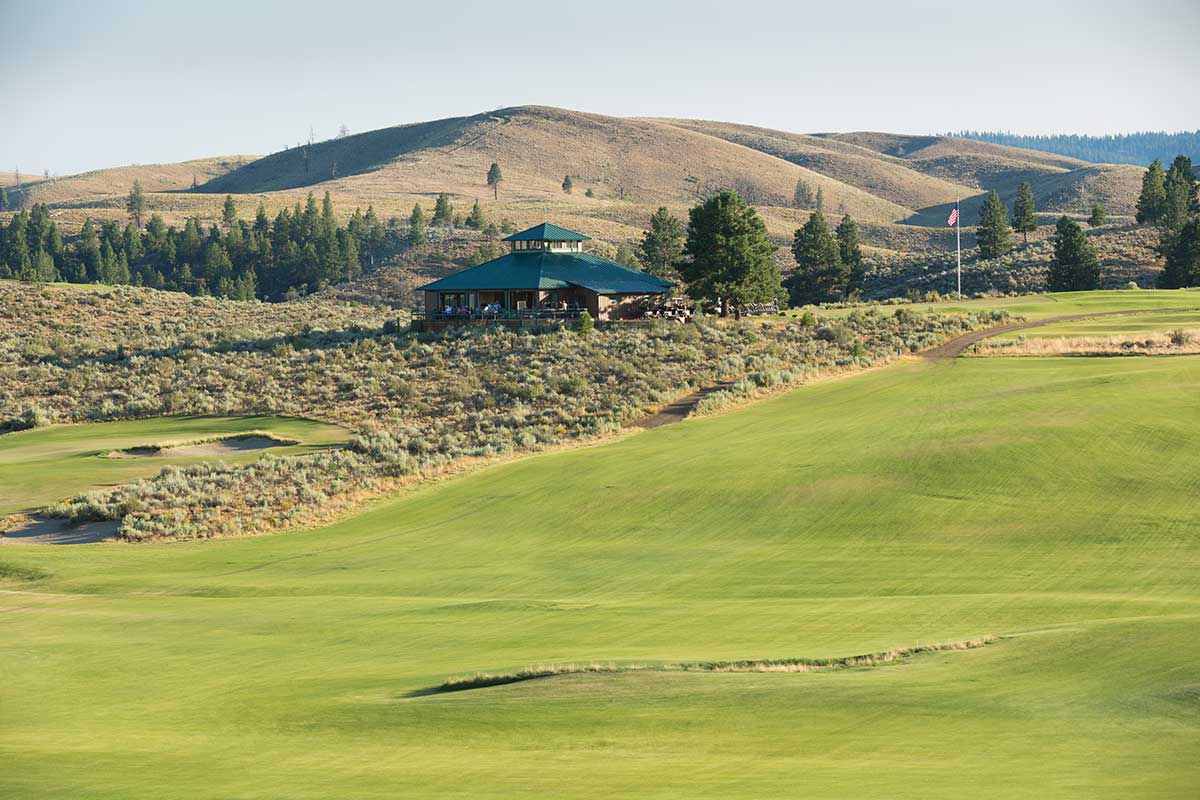
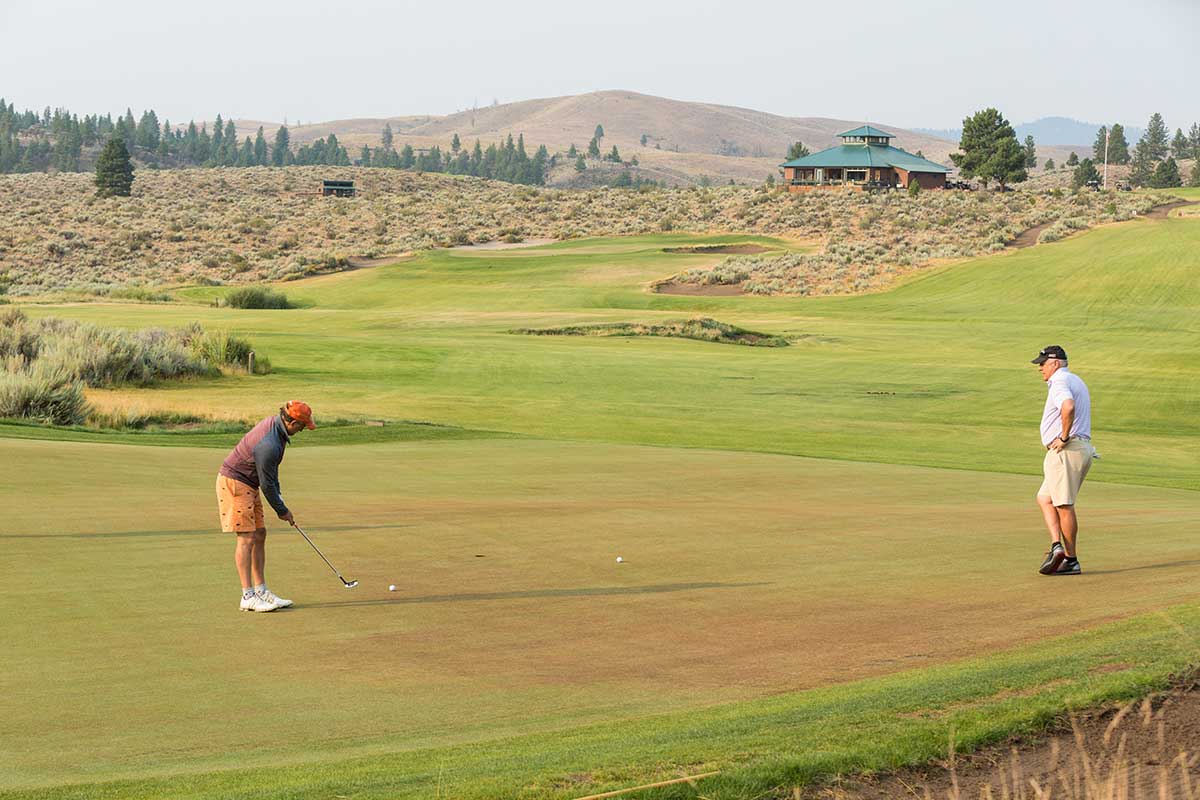
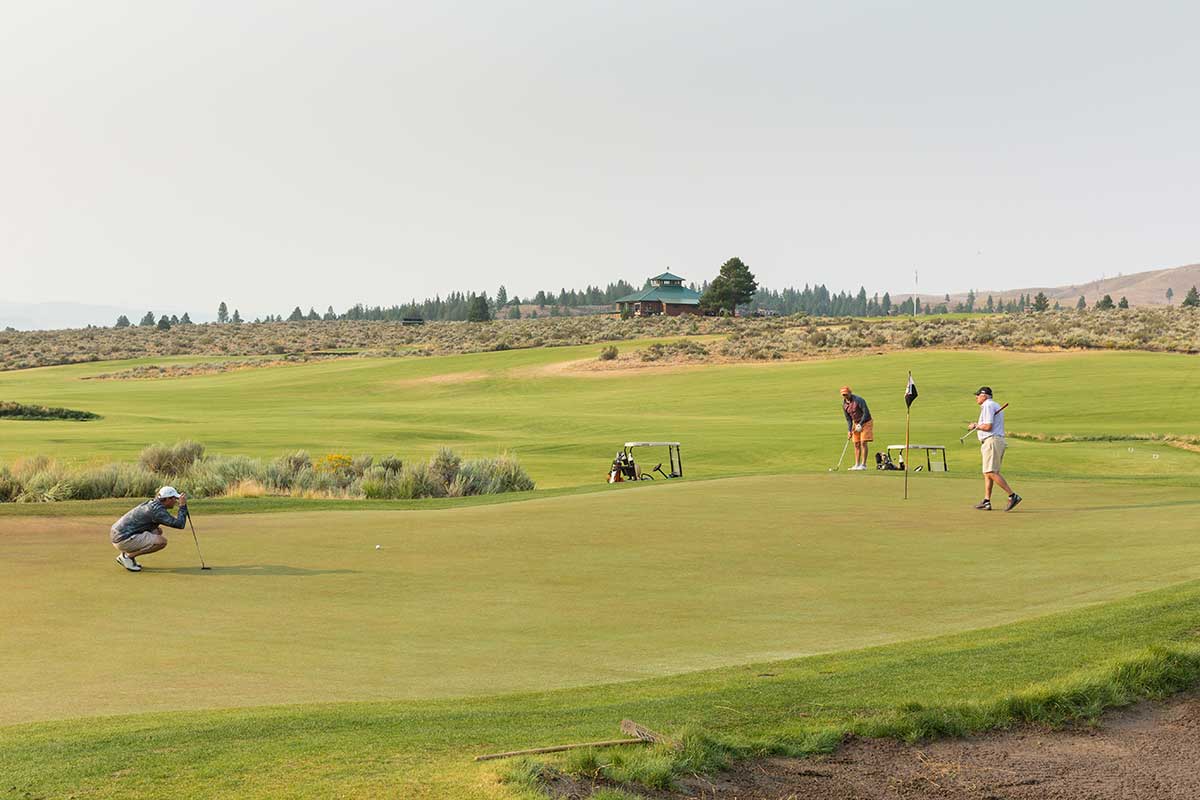
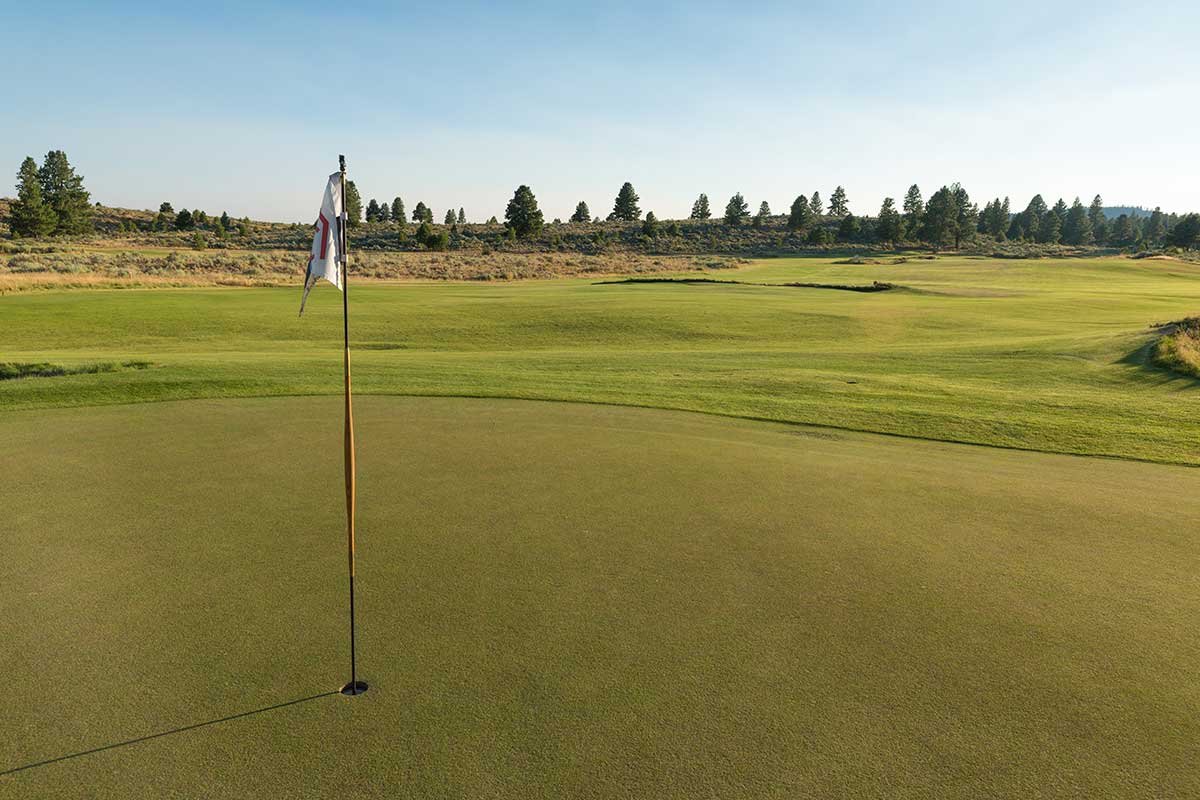
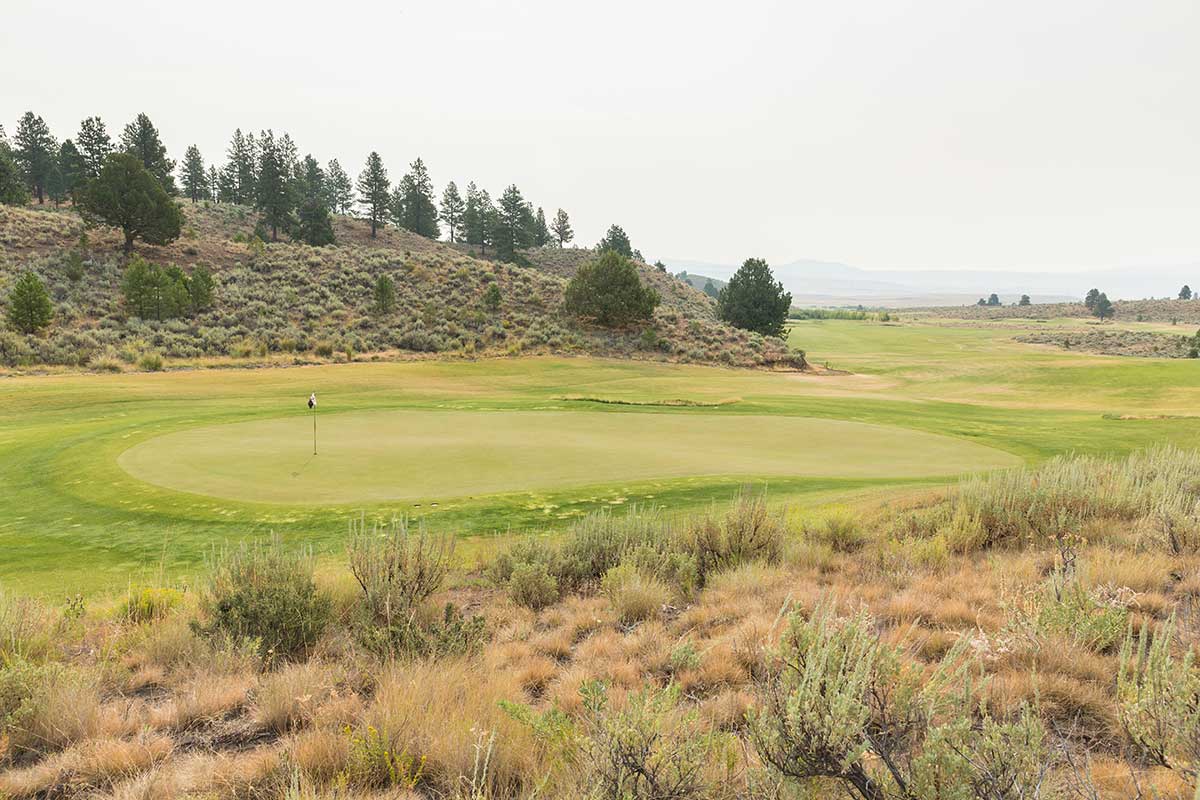
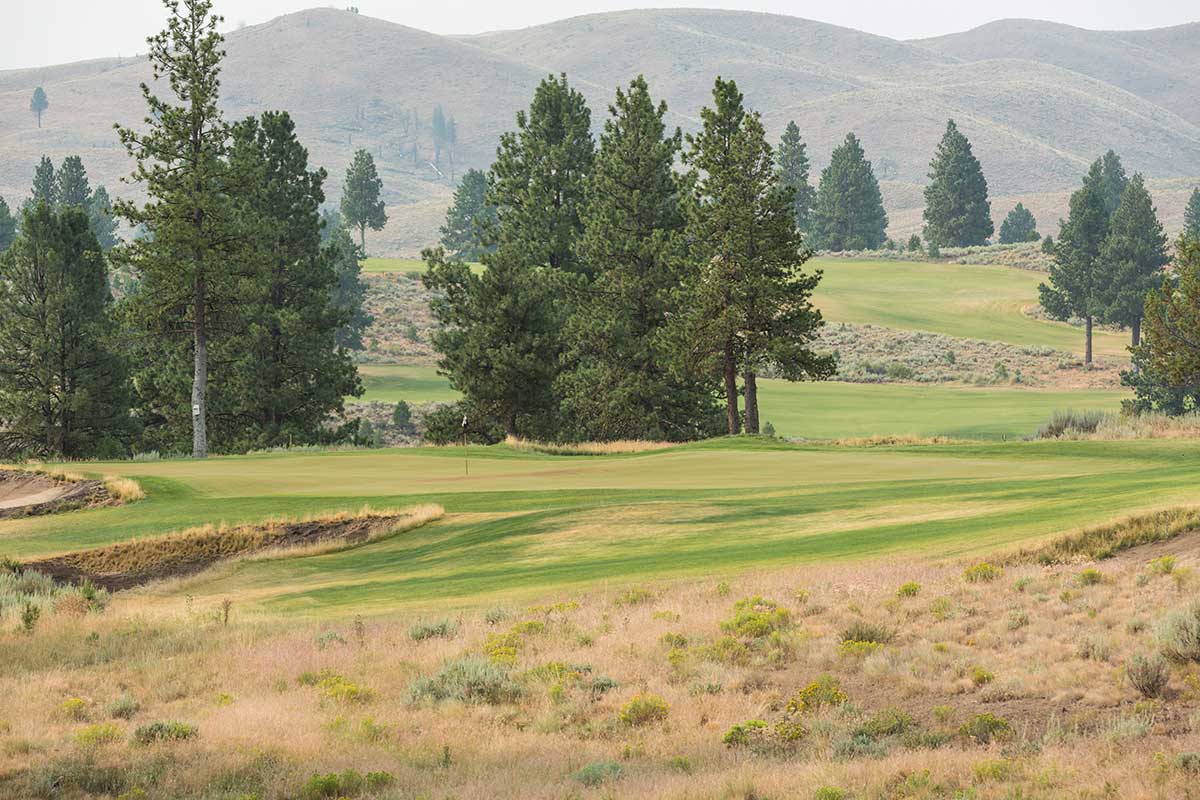
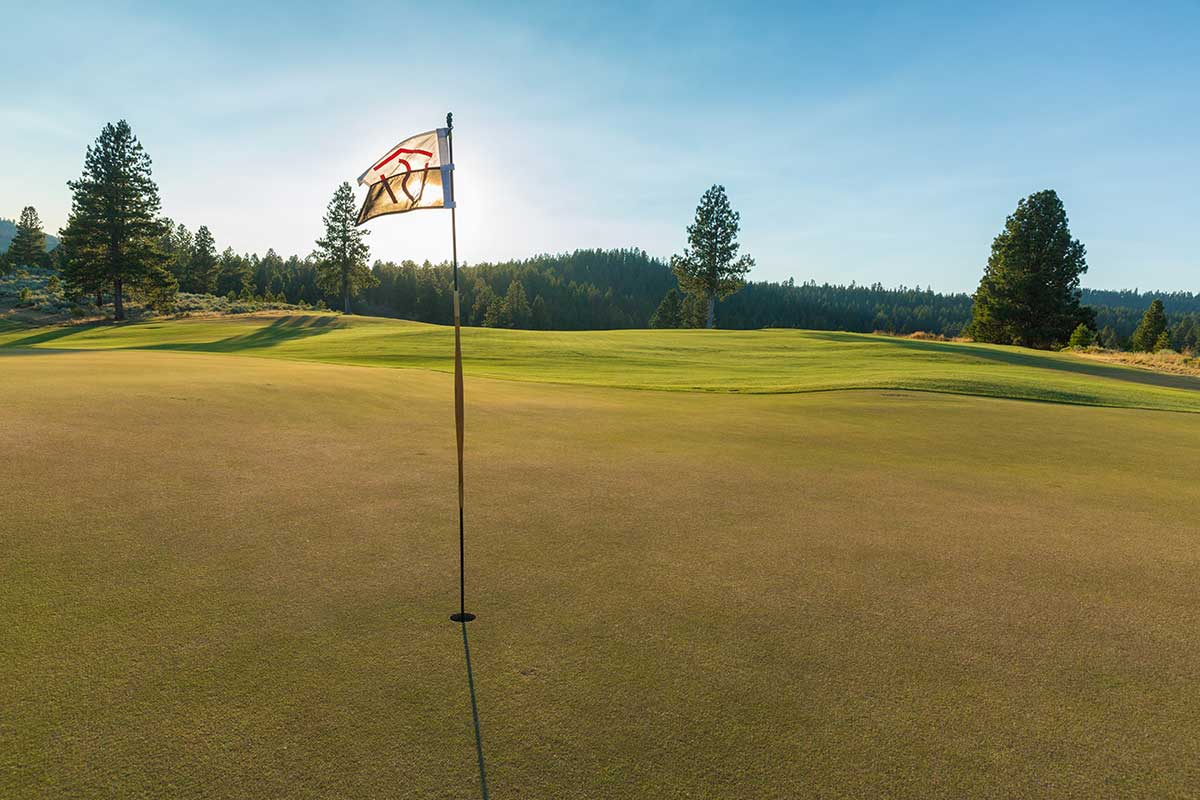
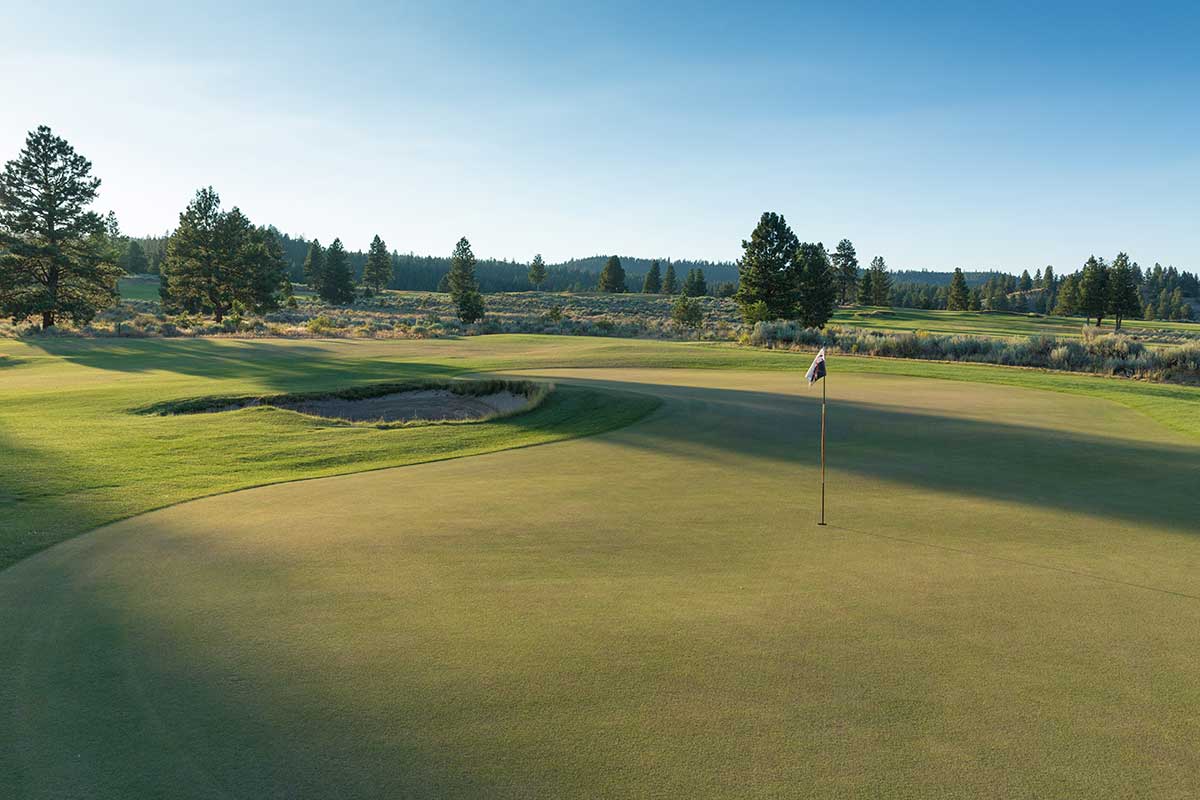
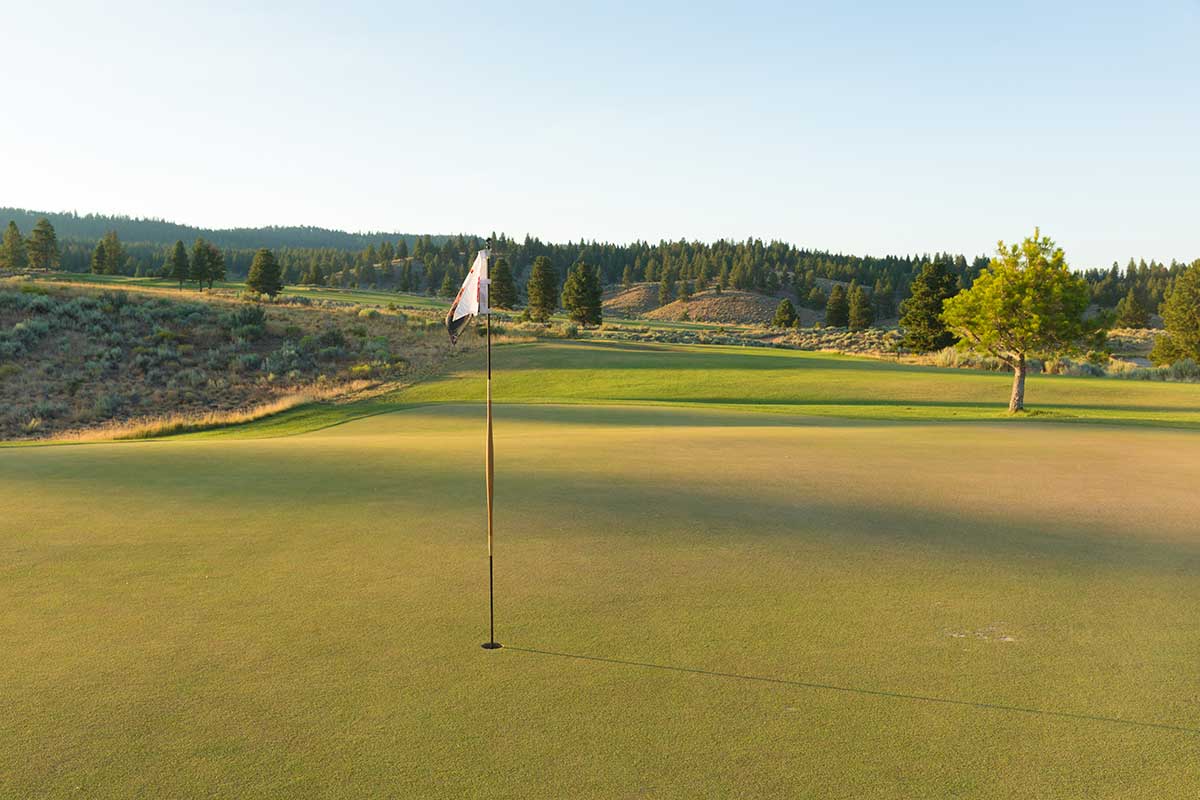
Hankins Hole #2
Par 3 • 150 • 150 • 105
From the tee, this is one of the favorite views of the course when you look back over the first hole
towards the clubhouse. The huge field of golf is in full view, yet the 2nd hole offers one of the
smallest targets on either course.
The green is tucked in the corner of one of the two cone shaped buttes in the area. Using the bank on
the right is a good option. This is probably the flattest green on the course.
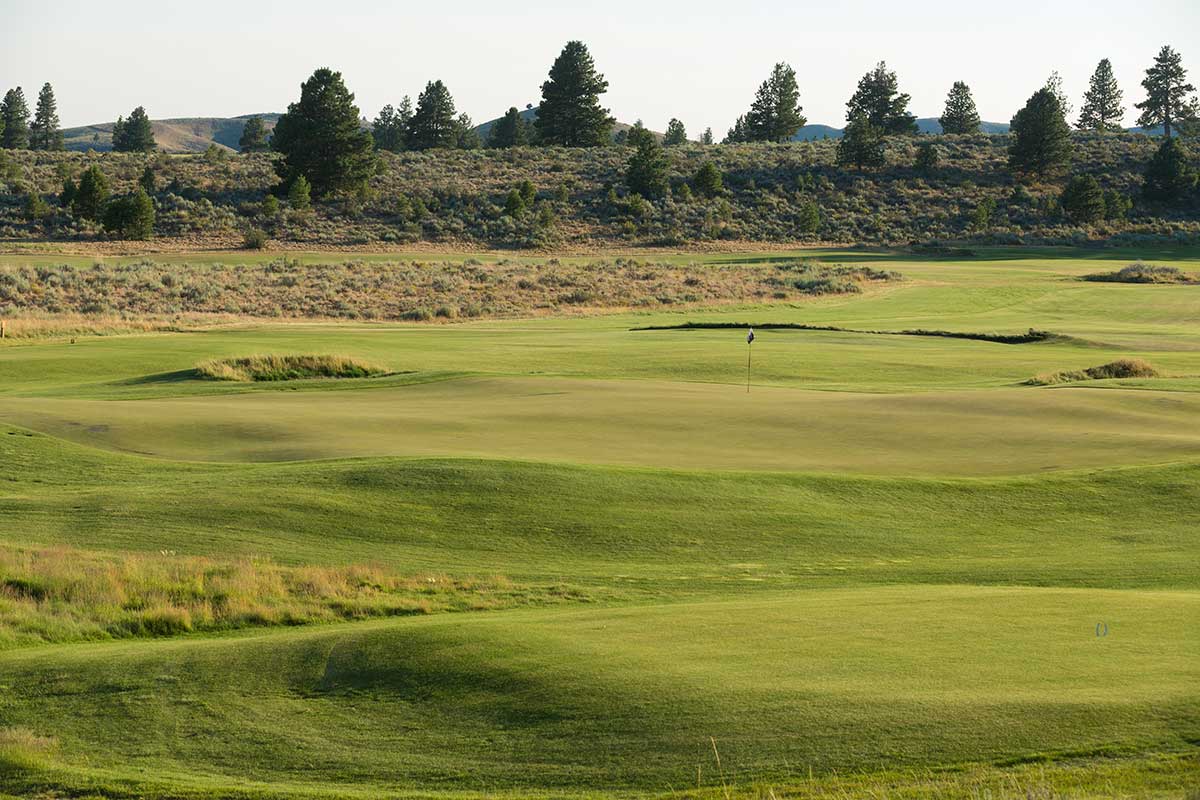
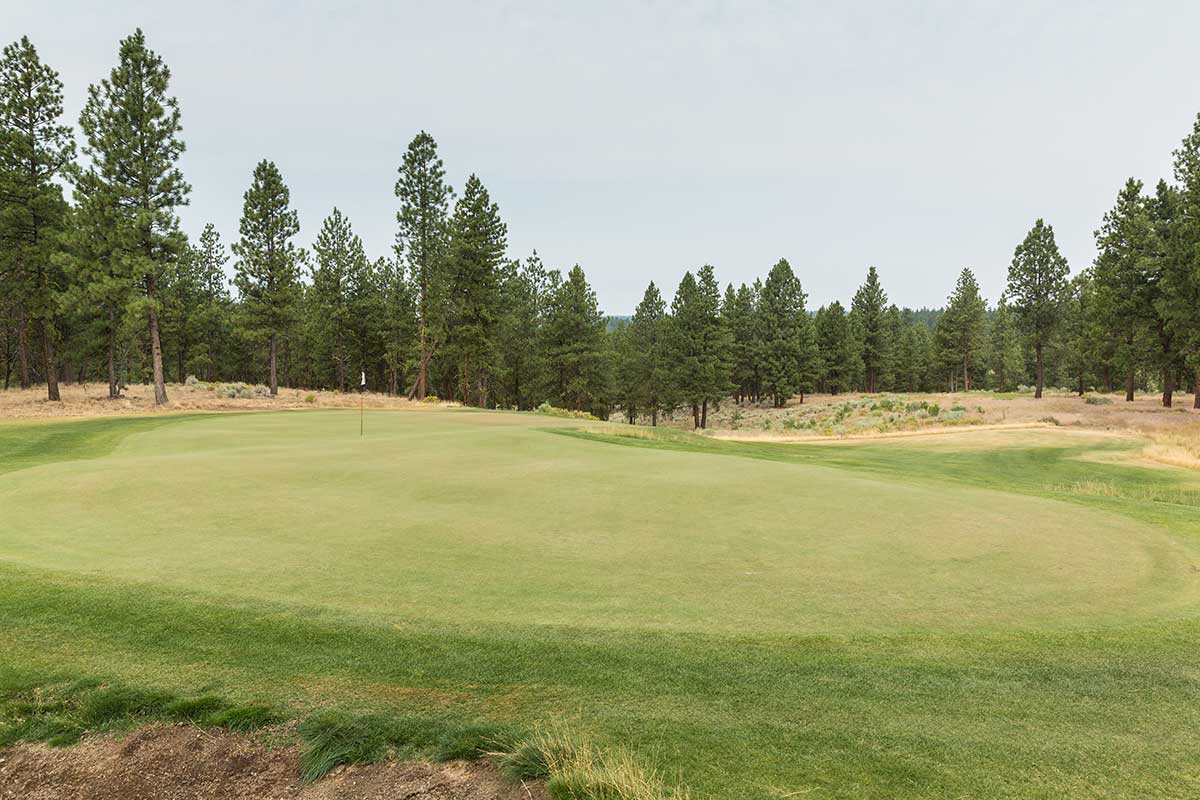
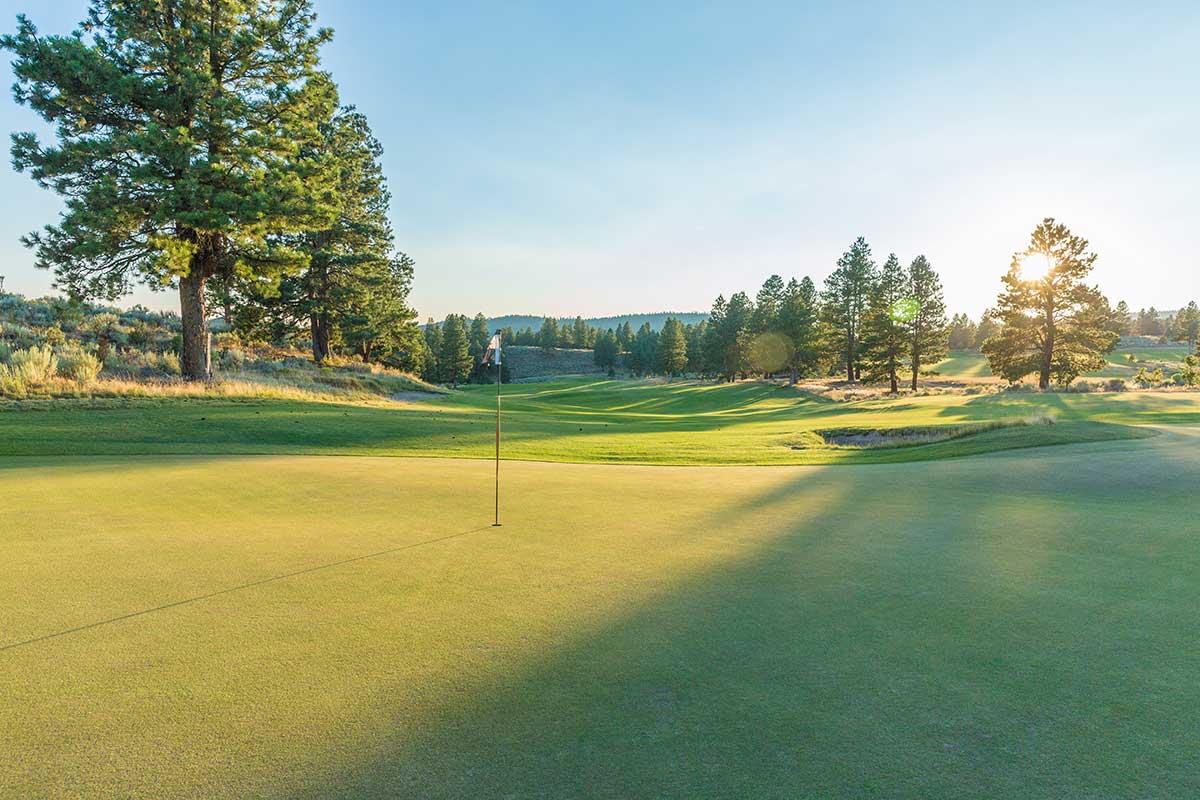
Hankins Hole #3
Par 5 • 590 • 470 • 380
The back tees on this hole are in the fairway to the left of the 2nd green. The back tee shot
requires a drive over a native stretch of grass to the fairway that enters another section of the
main valley. The other tees are around the corner of the small butte, giving this hole two very
different tee shots, especially visually.
The shorter left fairway bunker becomes a left greenside bunker when playing the Craddock course.
This hole is very wide in the middle and slowly narrows as you get closer to the green. The large
bunkers on the right as you approach the green are best avoided.
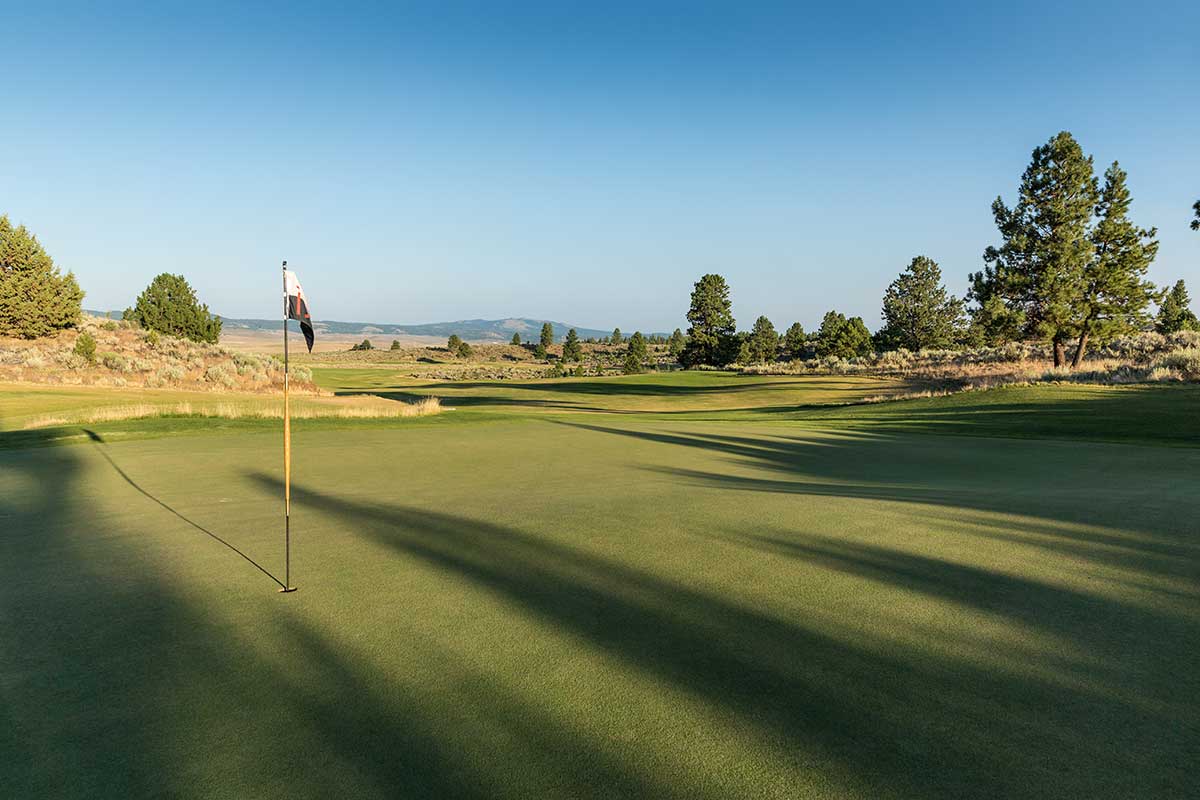
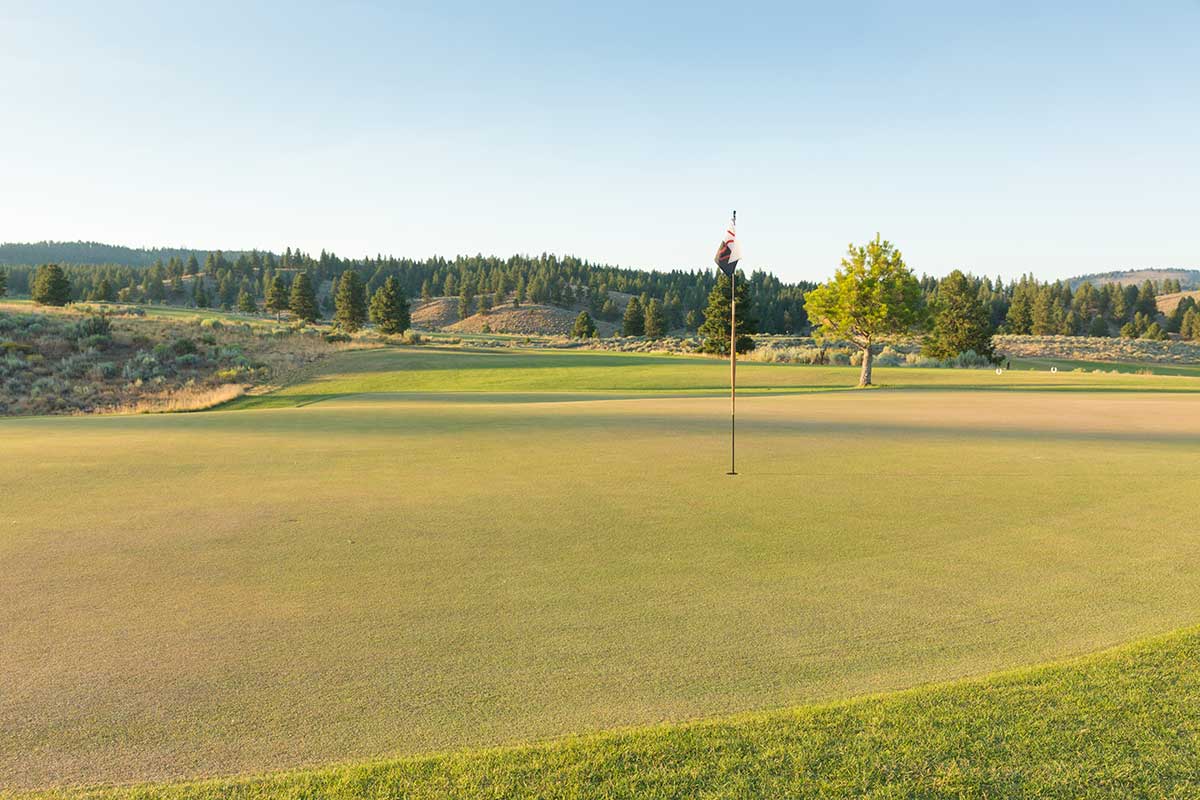
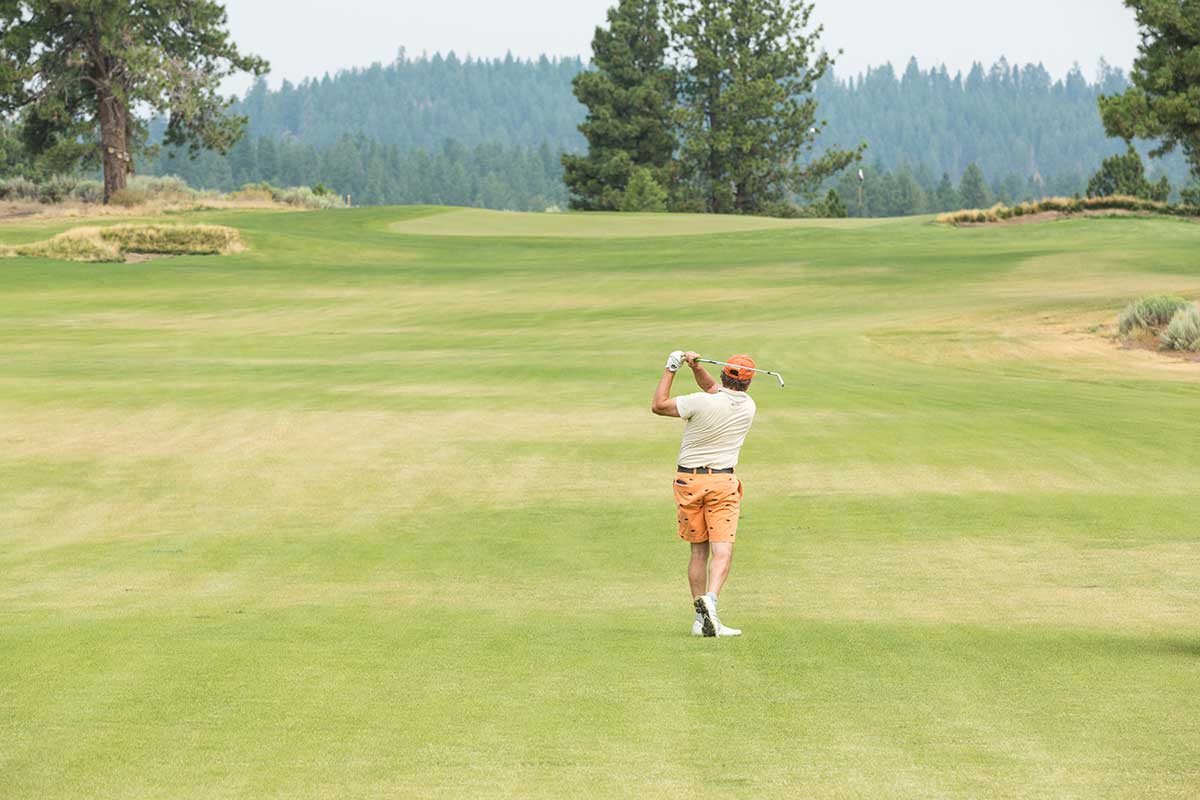
Hankins Hole #4
Par 4 • 370 • 325 • 305
For long hitters in the right conditions, this hole could be drivable. Most, however, will have to
play their second shots into a very undulating, large green complex.
When you are coming down from the tees it is a good idea to look at the reverse of this hole coming
up the slope towards the tee. Actually that is good advice on nearly every hole each day. This book
will hopefully make some of your decisions easier, but nothing like seeing with your own eyes what
lies ahead for your next round.
Hankins Hole #5
Par 5 • 550 • 490 • 420
This is the first of the many transition holes when you play from one eco-environment to the next.
This hole leaves the former grassy meadow valley of Aspens and Willows and follows the wildlife path
as it enters a smaller valley just on the edge of the forest. The meandering swales cutting across
the fairway right to left were unchanged as the years of spring run-off had formed the perfect
drainage paths for water.
Like the 3rd hole, the 5th narrows closer to the green, with the green just past the narrow pinch
point of the valley opening. It is a slightly easier shot into the green coming from the left side
because the right greenside bunker is one of the deeper ones on the course and you can see the green
from the higher ground.
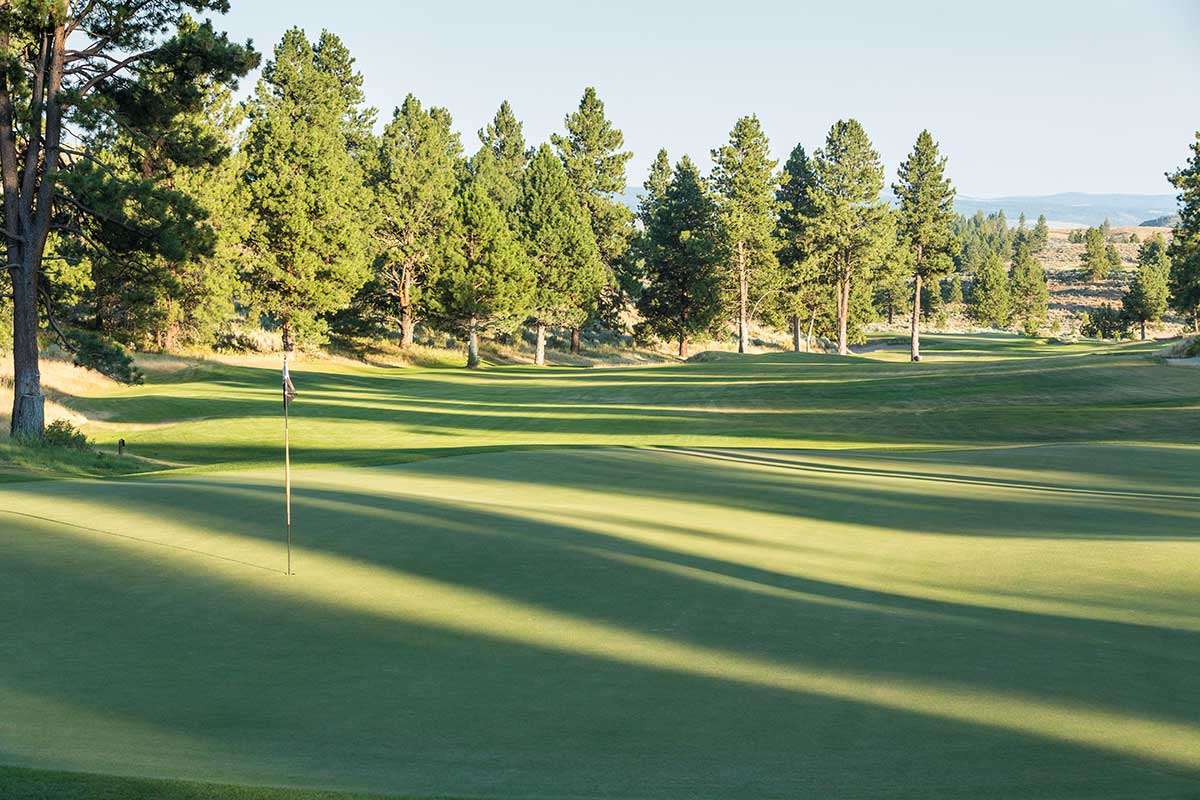
Hankins Hole #6
Par 4 • 465 • 425 • 365
The long uphill par 4 often plays into the wind. The good news is that the next day this is a par 5
(13 Craddock) that can play shorter than the 6th even though it is nearly 100 yards longer. It’s
like riding your bike uphill; eventually you get to coast back down.
Why are there trees in the fairway? It is actually the other way around. Here we moved the fairway
out into the trees to allow far more creative options if you hit into them and to keep your
fairways-hit-in-regulation percentage high…for those that track that type of thing.
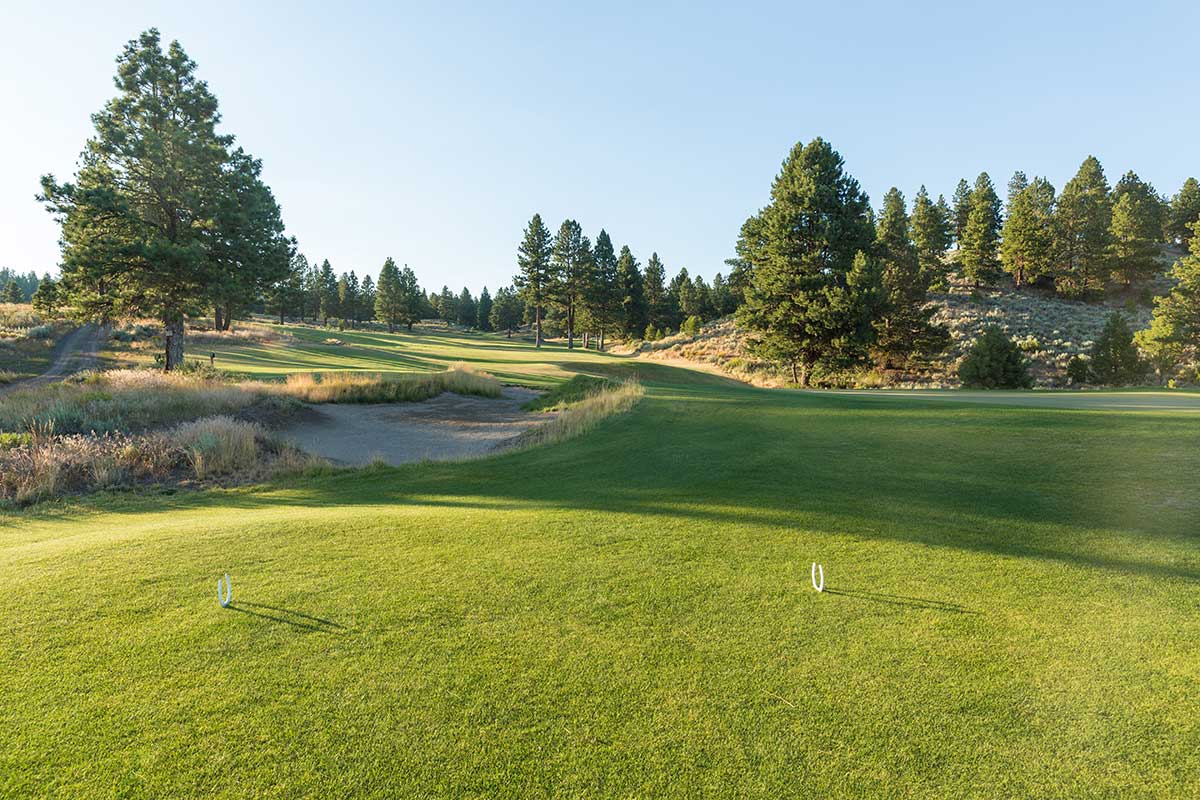
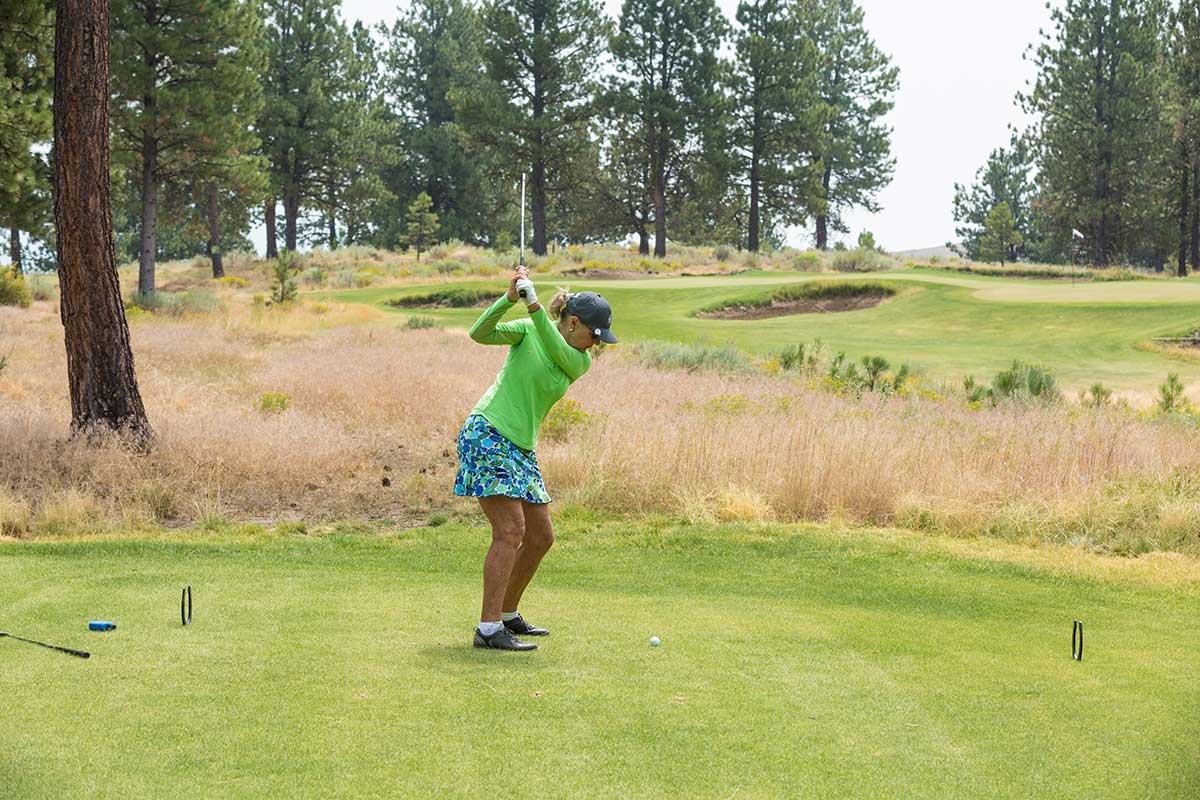
Hankins Hole #7
Par 3 • 200 • 175 • 125
This hole was laid out mentally on Dan Hixson's first walks of the site. If you followed the progress
of Silvies Valley Ranch throughout the years, pictures of this hole were always included in annual
updates. The downhill slope before the green give the shotmakers lots of options to play.
This tee complex is also used for the 13th hole on the Craddock course, played down the fairway on
the left. This is the highest point of the course at 4,887 above sea level.
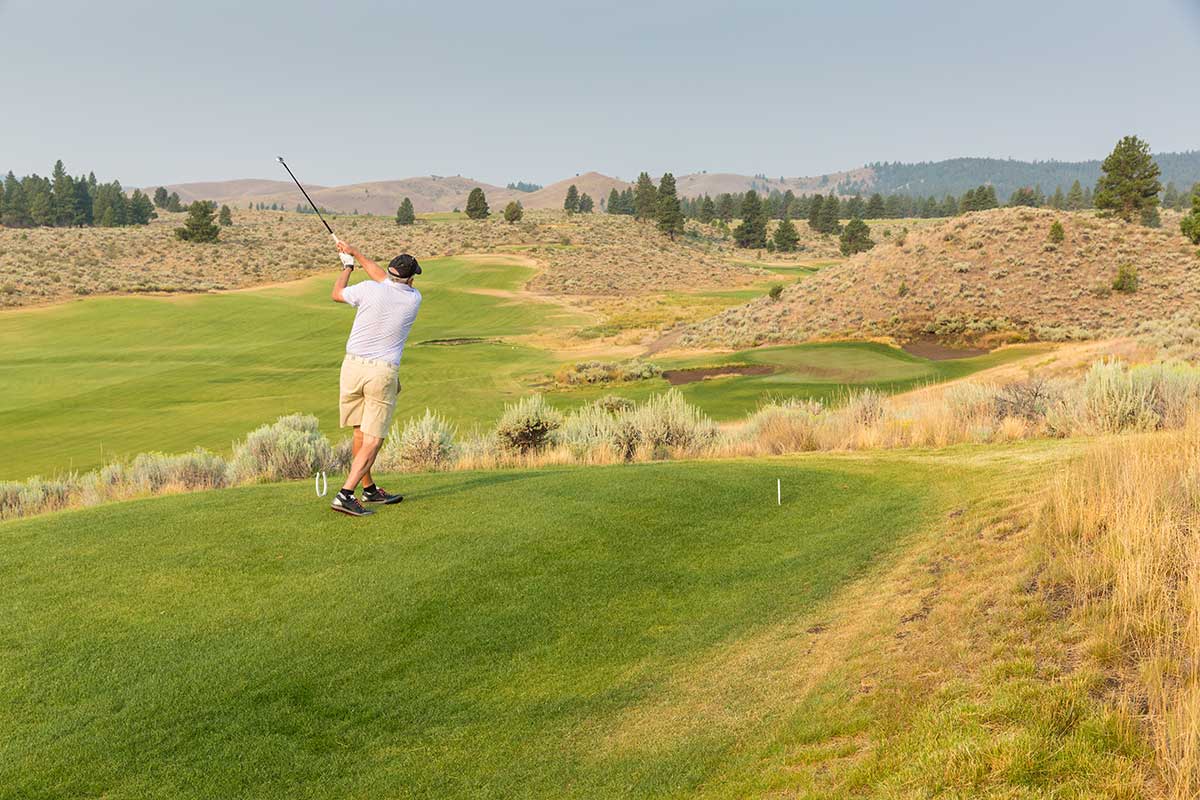
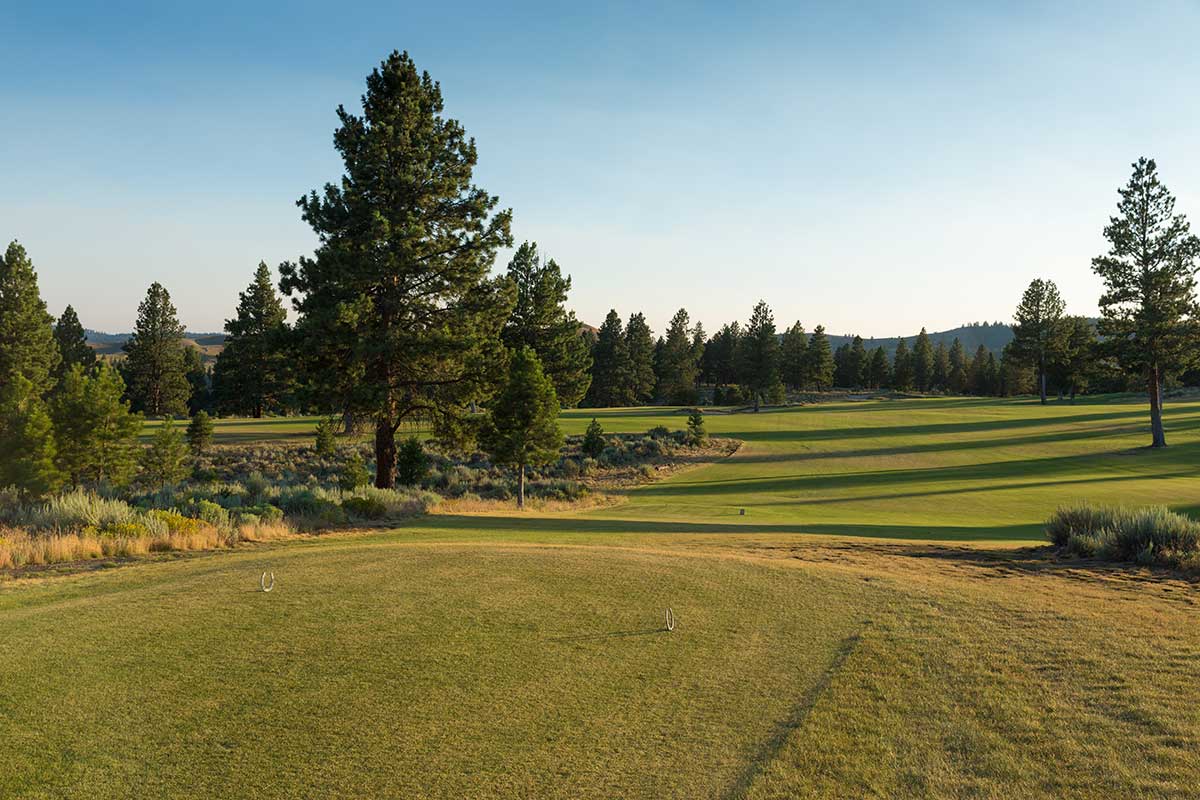
Hankins Hole #8
Par 4 • 410 • 385 • 320
The term “Risk-Reward” gets used a lot in
describing golf course architecture. The 8th hole for some truly lives up to that term. The large
drop-off tee shot plays from the forest area down into another portion of the lower meadow. It gives
the golfer two distinct options to play the hole.
Hitting a long tee shot over the forest on the right can make it to the green for an eagle try. But
if you don’t make it, good luck. Playing safe down the main fairway gives a straight second shot to
the green with a bit of an obstructed view.
The large horseshoe bunker left of the green here catches anything pulled or hooked. This bunker will
have a considerably different effect playing the 9th of the Craddock course, in either case; it is
best to be avoided.
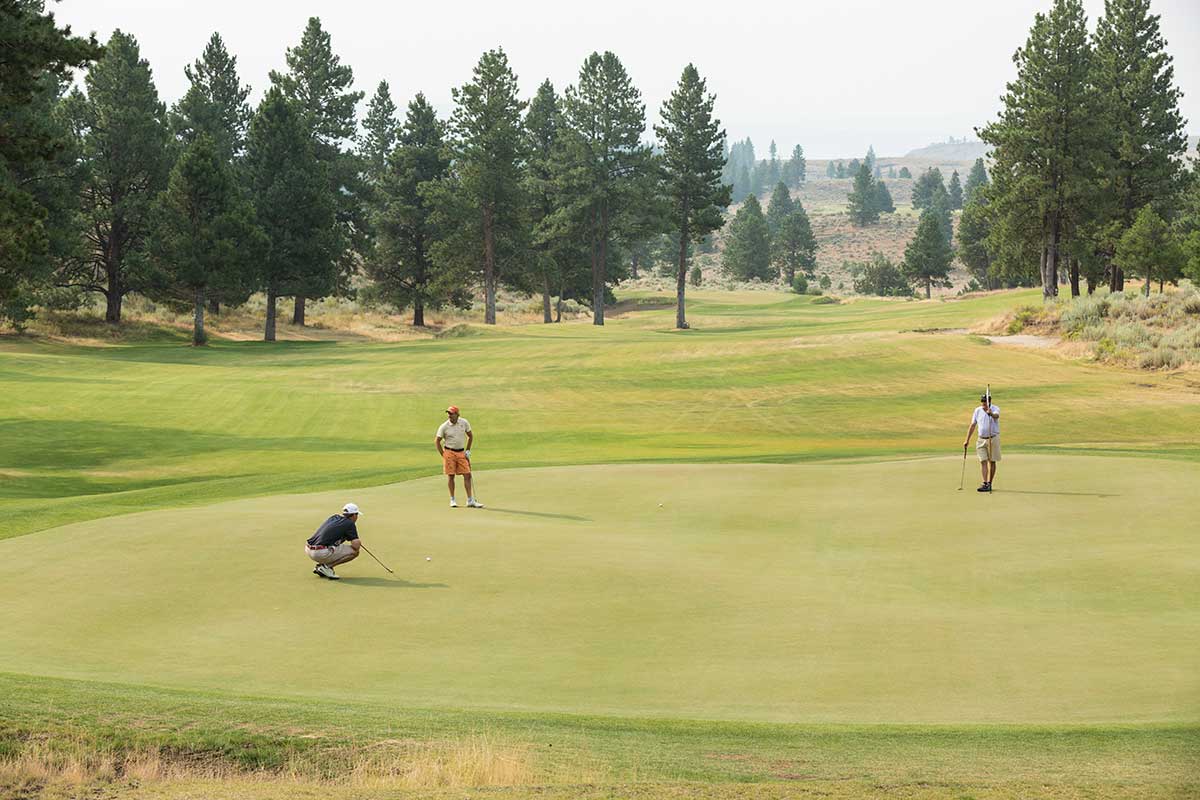
Hankins Hole #9
Par 4 • 500 • 405 • 360
The 9th hole plays straight down the meadow valley with the green sitting near a constructed wetland
in the area that used to be the McVeigh Homestead. The original barn can be seen across the wetlands
from this green.
The wetlands were created by using the old McVeigh wells, which were hand dug (think lowering a
bucket down with a rope) nearly a century ago. This is the longest par 4 at Silvies from the back
tees at 500 yards. Although it is hard to tell, this hole drops nearly 40 feet in elevation from the
back to the green.
Hankins Hole #10
Par 4 • 445 • 385 • 330
This hole was nicknamed ‘Half Pipe’ during construction due to the obvious shape of the driving zone.
The valley shaped fairway helps correct those errant tee shots. This hole plays uphill even after
you crest the hill in the landing area. Therefore, approach shots are longer than they appear.
Hankins Hole #11
Par 4 • 305 • 285 • 270
The blind drivable par 4 11th hole is a transition from the north half of the course to the south.
The tee shot is wide but the blind nature can lead to tentative swings. A tee shot of 200 yards from
the back or 150 yards from the front will give you a nice view of the skyline green. If your
approach is right of the green you will find yourself 20- or 30-feet below the green. Go left and
you can catch a bunker or the desert sage that creeps closer to play as you get nearer the green.
The green itself is very deceiving as it sits on a high spot. But, that also makes it one of the best
views to see some of the upcoming holes. Tip: don’t go long. Also, check this green out for the next
day’s routing.
Hankins Hole #12
Par 4 • 445 • 405 • 325
The fairway is 180 yards wide at its peak. Swing away but watch out for the sentinel Ponderosa pines
and the fairway bunker left, should your tee shot wander off the centerline.
The approach shot plays longer than it looks into this relatively flat green, but like many holes,
stay below the pin on your approach.
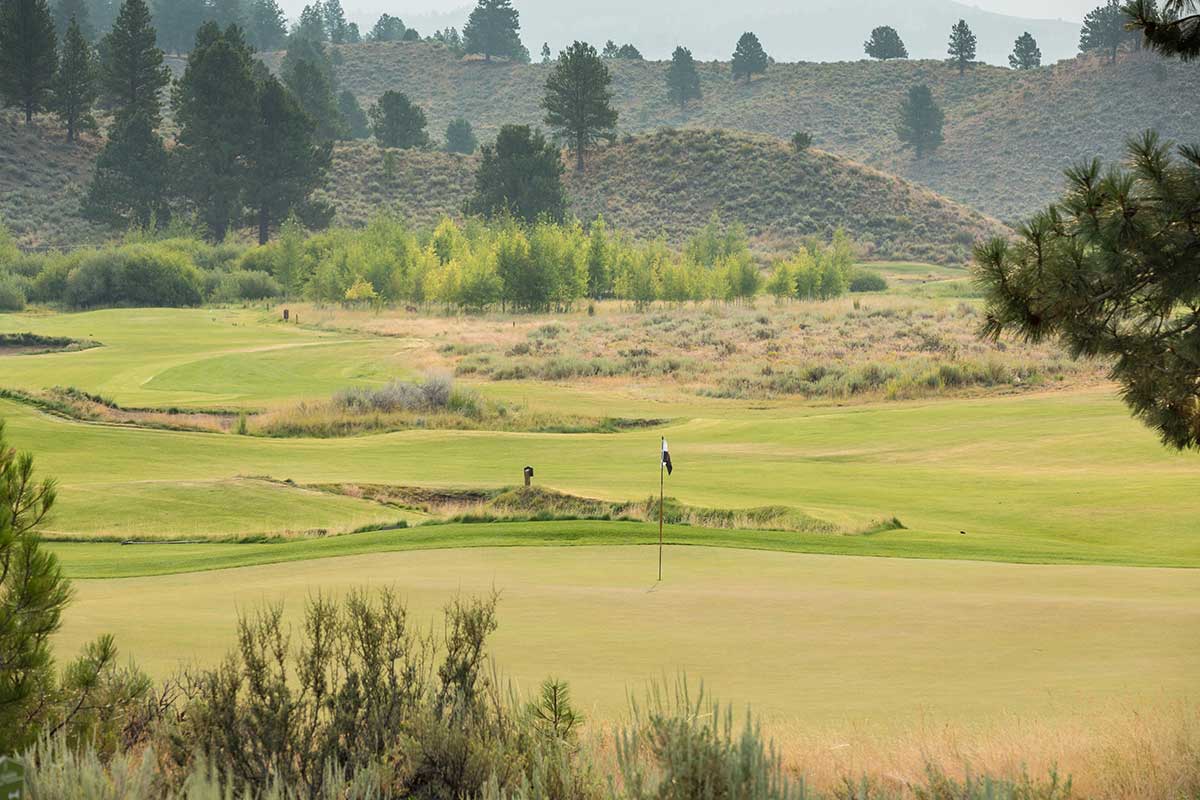
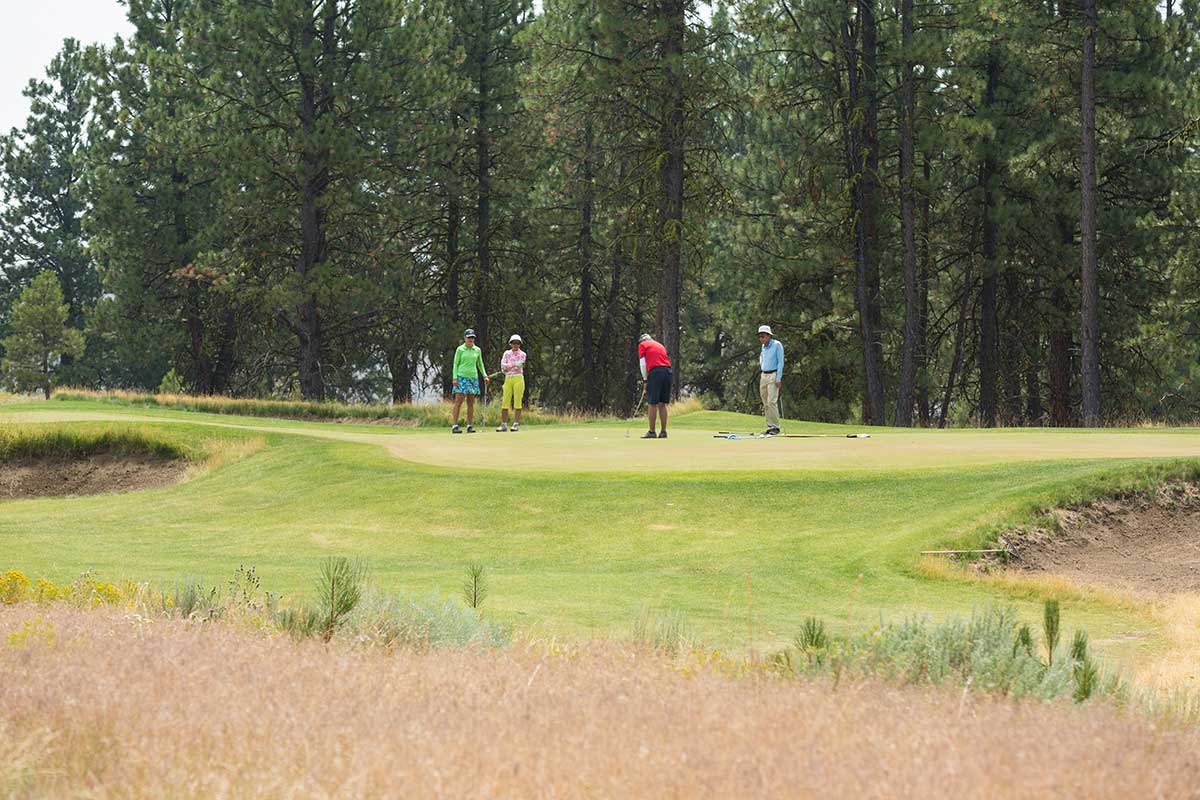
Hankins Hole #13
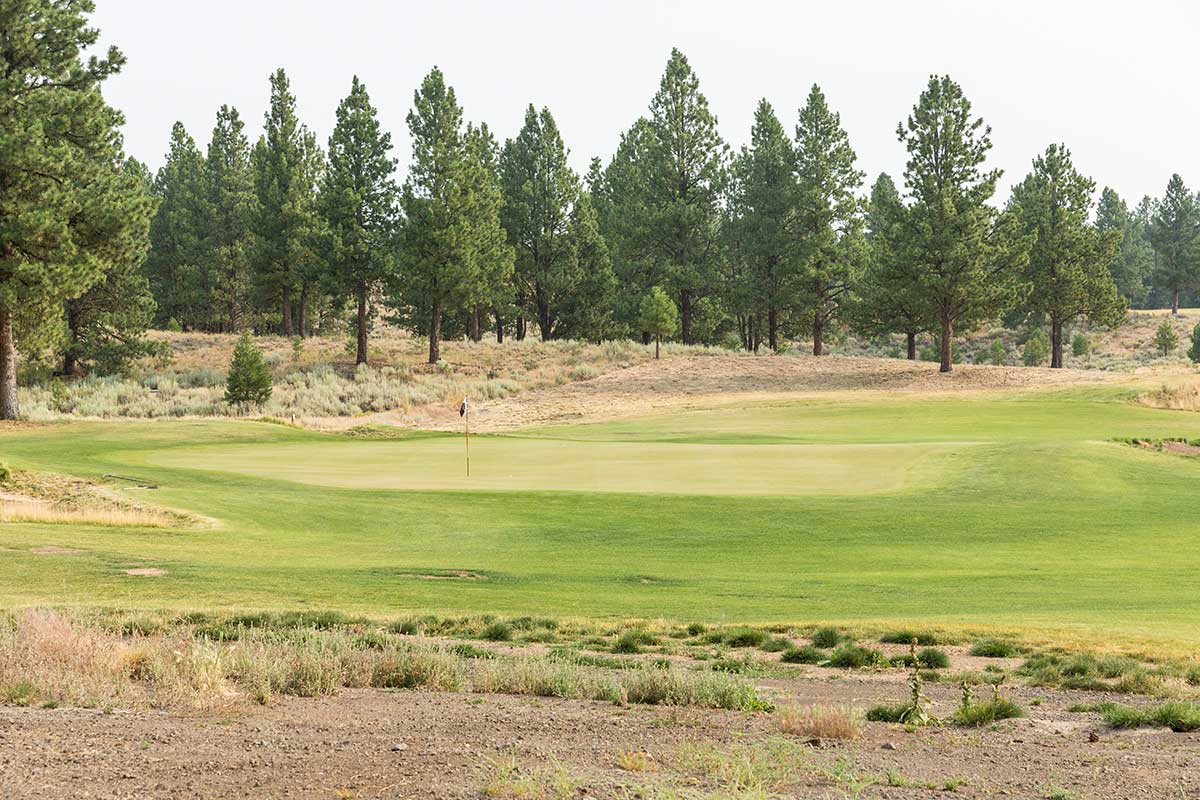
Par 3 • 140 • 115 • 105
This short par 3 is the most highly guarded green on either course. The front right bunker is the
type that makes some players hate golf course architects, but it’s only 115 yards from the middle.
Distance control is far more important than the direction on 13.
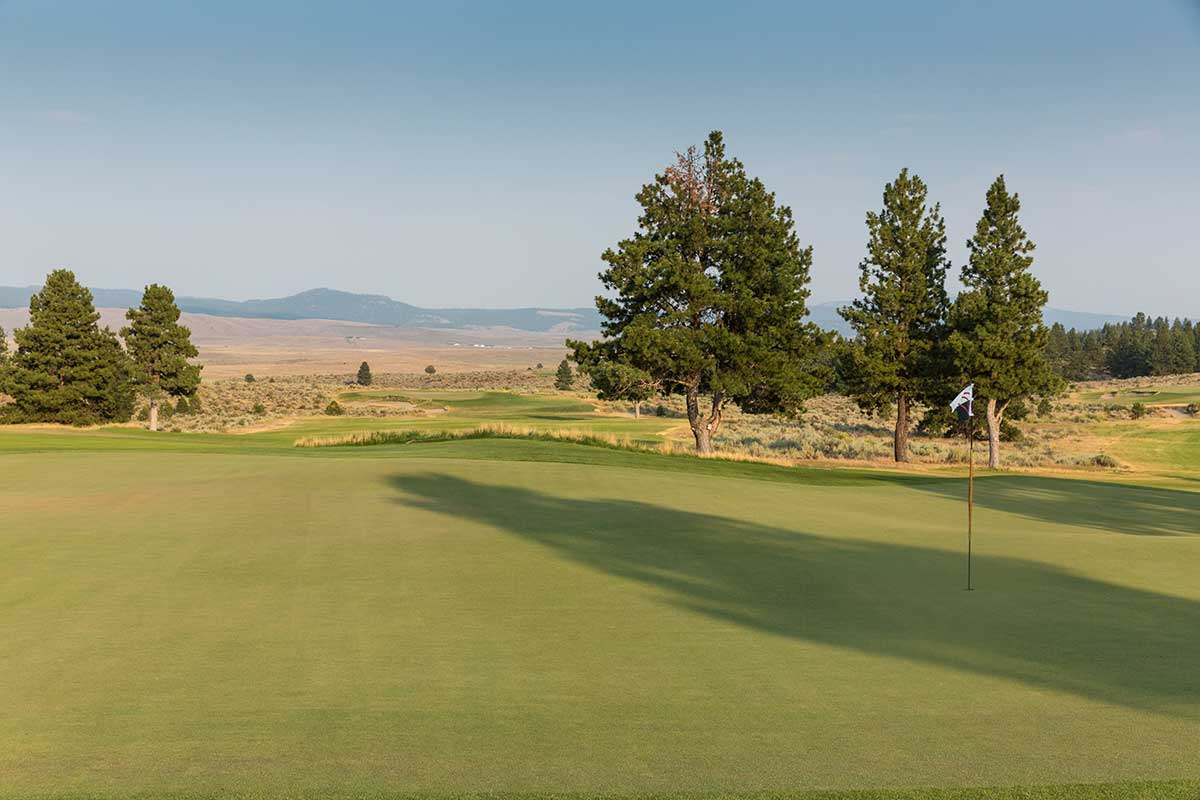
Hankins Hole #14
Par 5 • 505 • 490 • 385
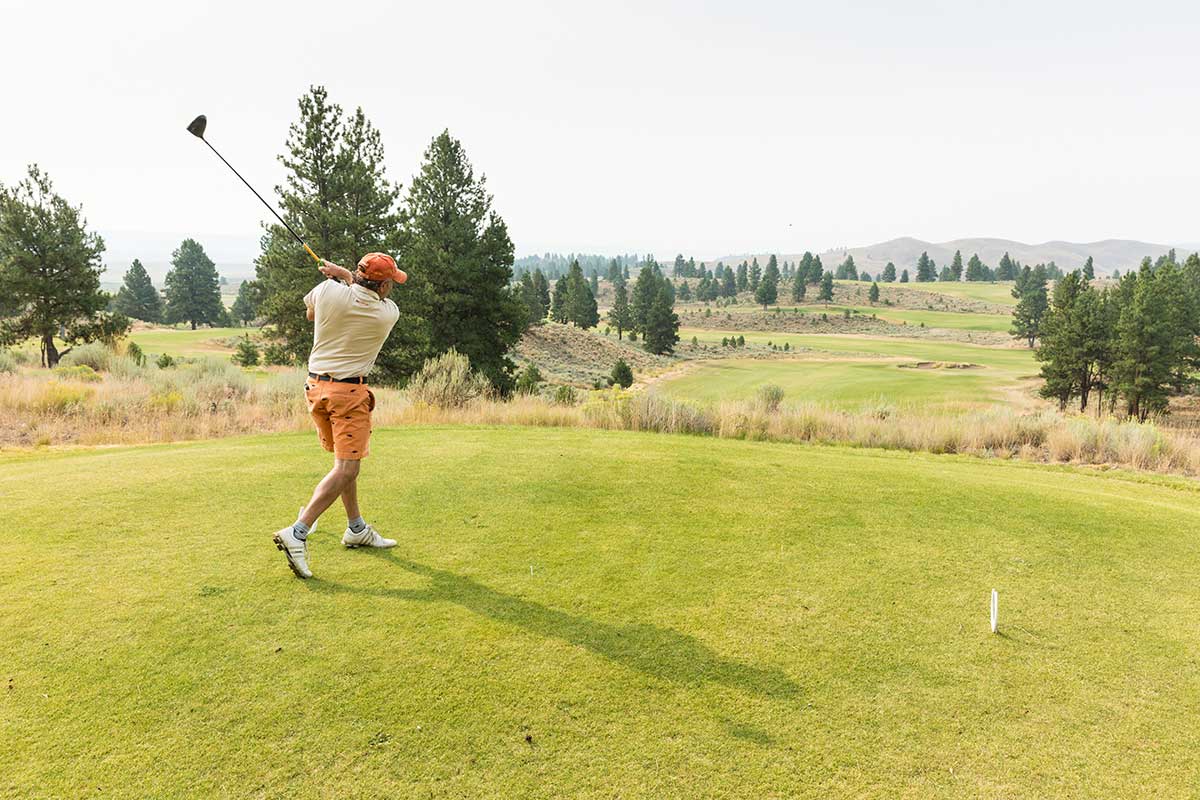
The back tee is the highest point of the southern portion of the course. Needless to say, the view is
awesome. You can see over the course to the butte near the first hole and across the bigger Silvies
Valley.
The fairway is 75 feet below and very wide, but on a breezy day, it can be agonizing waiting for a
curving ball to land. It is best to drive close to the left fairway bunker in order to have a view
of the green on the second shot. The fairway runs left to right on the tee shot and most balls will
end up right to a blind second shot.
This is the shortest par 5 on the course but the combination of slope, visuals, bunkers and a very
strategic green makes players think.
Hankins Hole #15
Par 3 • 175 • 145 • 90
The 15th is a par 3 that plays over a dry desert valley to a green that is surrounded by sage brush
and bunkers. The main yardages vary from 175 to 145 to 90 yards, but the angles make each tee box
progressively easier.
Hankins Hole #16
Par 4 • 490 • 450 • 405
This hole can be a bear into an afternoon wind. Like several other holes, the views you will see from
the tee and from the fairway are considerably different due to the downhill drive and the uphill
second shot.
The wide-open approach to the green and favorable side slopes can give the thinking golfer different
ways to reach the cup. This green has a massive slope when played in this direction that can be used
as a backboard for front pins, or to test your touch when the hole location is on the upper tier.
Hankins Hole #17
Par 4 • 330 • 305 • 270
If you have followed the progress of Silvies Valley Ranch through the development period, you have
seen photos of this hole. Being out in the open sage, you can see for miles.
It is a bit of a relief hole after the tough 16th, if played wisely. The tee shot is one of the
narrower ones, especially for long hitters trying to drive the green. Playing it safe by leaving a
relatively short shot will win the hole.
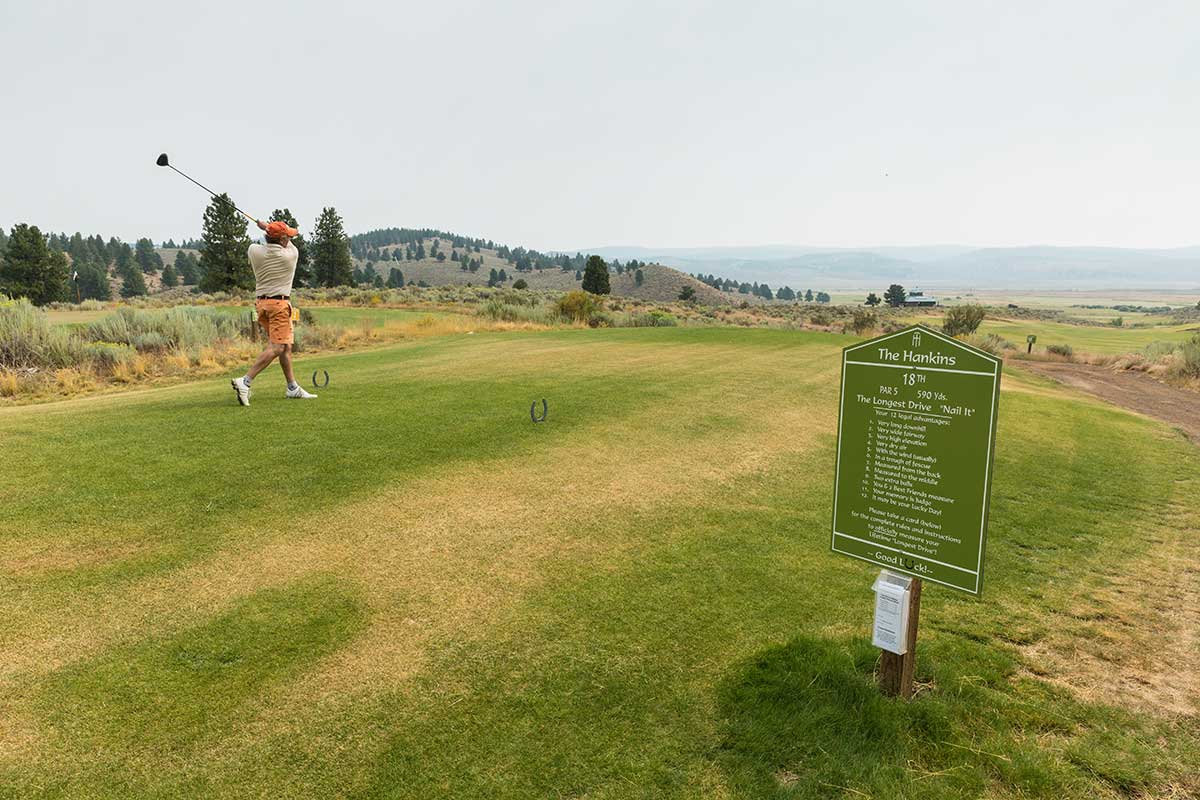
Hankins Hole #18
Par 5 • 590 • 505 • 440
The Hixson Hole. Here is your chance to show off your driving length. This downhill, downwind par 5
allows everyone to “nail” their drive and win a drink for the group.
The valley effect keeps most balls in play. Generally, the longer hitters want to favor the left half
of the fairway and, if your length is correct, you can use the speed bump to gain even more
distance. Your view of the second half of the hole becomes hidden the farther right you are off the
tee.
It is always safe to play second and third shots to the left to avoid the fore-bunker about 70 yards
from the front of the green. Play over or around the right side of it to use the long feeder slope
to the green.
This hole drops nearly 100 feet, and it is best to bounce most shots into this green as it runs away
with the bigger slope.